Set up Python for computer vision in Windows
I am teaching myself computer vision and Python at the same time. These are the packages I have installed to get going:
- Anaconda
- OpenCV
- VisualStudio Code
- (Bonus) ffmpeg
Anaconda
Anaconda is a Python-based data science ecosystem. It handles a number of packages and multiple Python installations in a single computer.
I install the 2.7 version for OpenCV and make sure to not add python.exe to the Windows PATH- I may install 2.7 and 3.5 side-by-side and I want to avoid conflicts by specifying which Python version I run every time.
OpenCV
OpenCV (Open Source Computer Vision Library) is a software library that provides a common infrastructure for computer vision applications. I head over to opencv.org and get the latest release for Windows.
The release package includes built binaries and source files. For my purposes, I only need one file, opencv/build/python/2.7/x64/cv2.pyd.
Copy this file into Anaconda2/Lib/site-packages and my Python 2.7 install is now OpenCV-enabled.
VisualStudio Code
VisualStudio Code is a lightweight code editor from Microsoft. I get the latest version from here.
Set up Python in VisualStudio Code
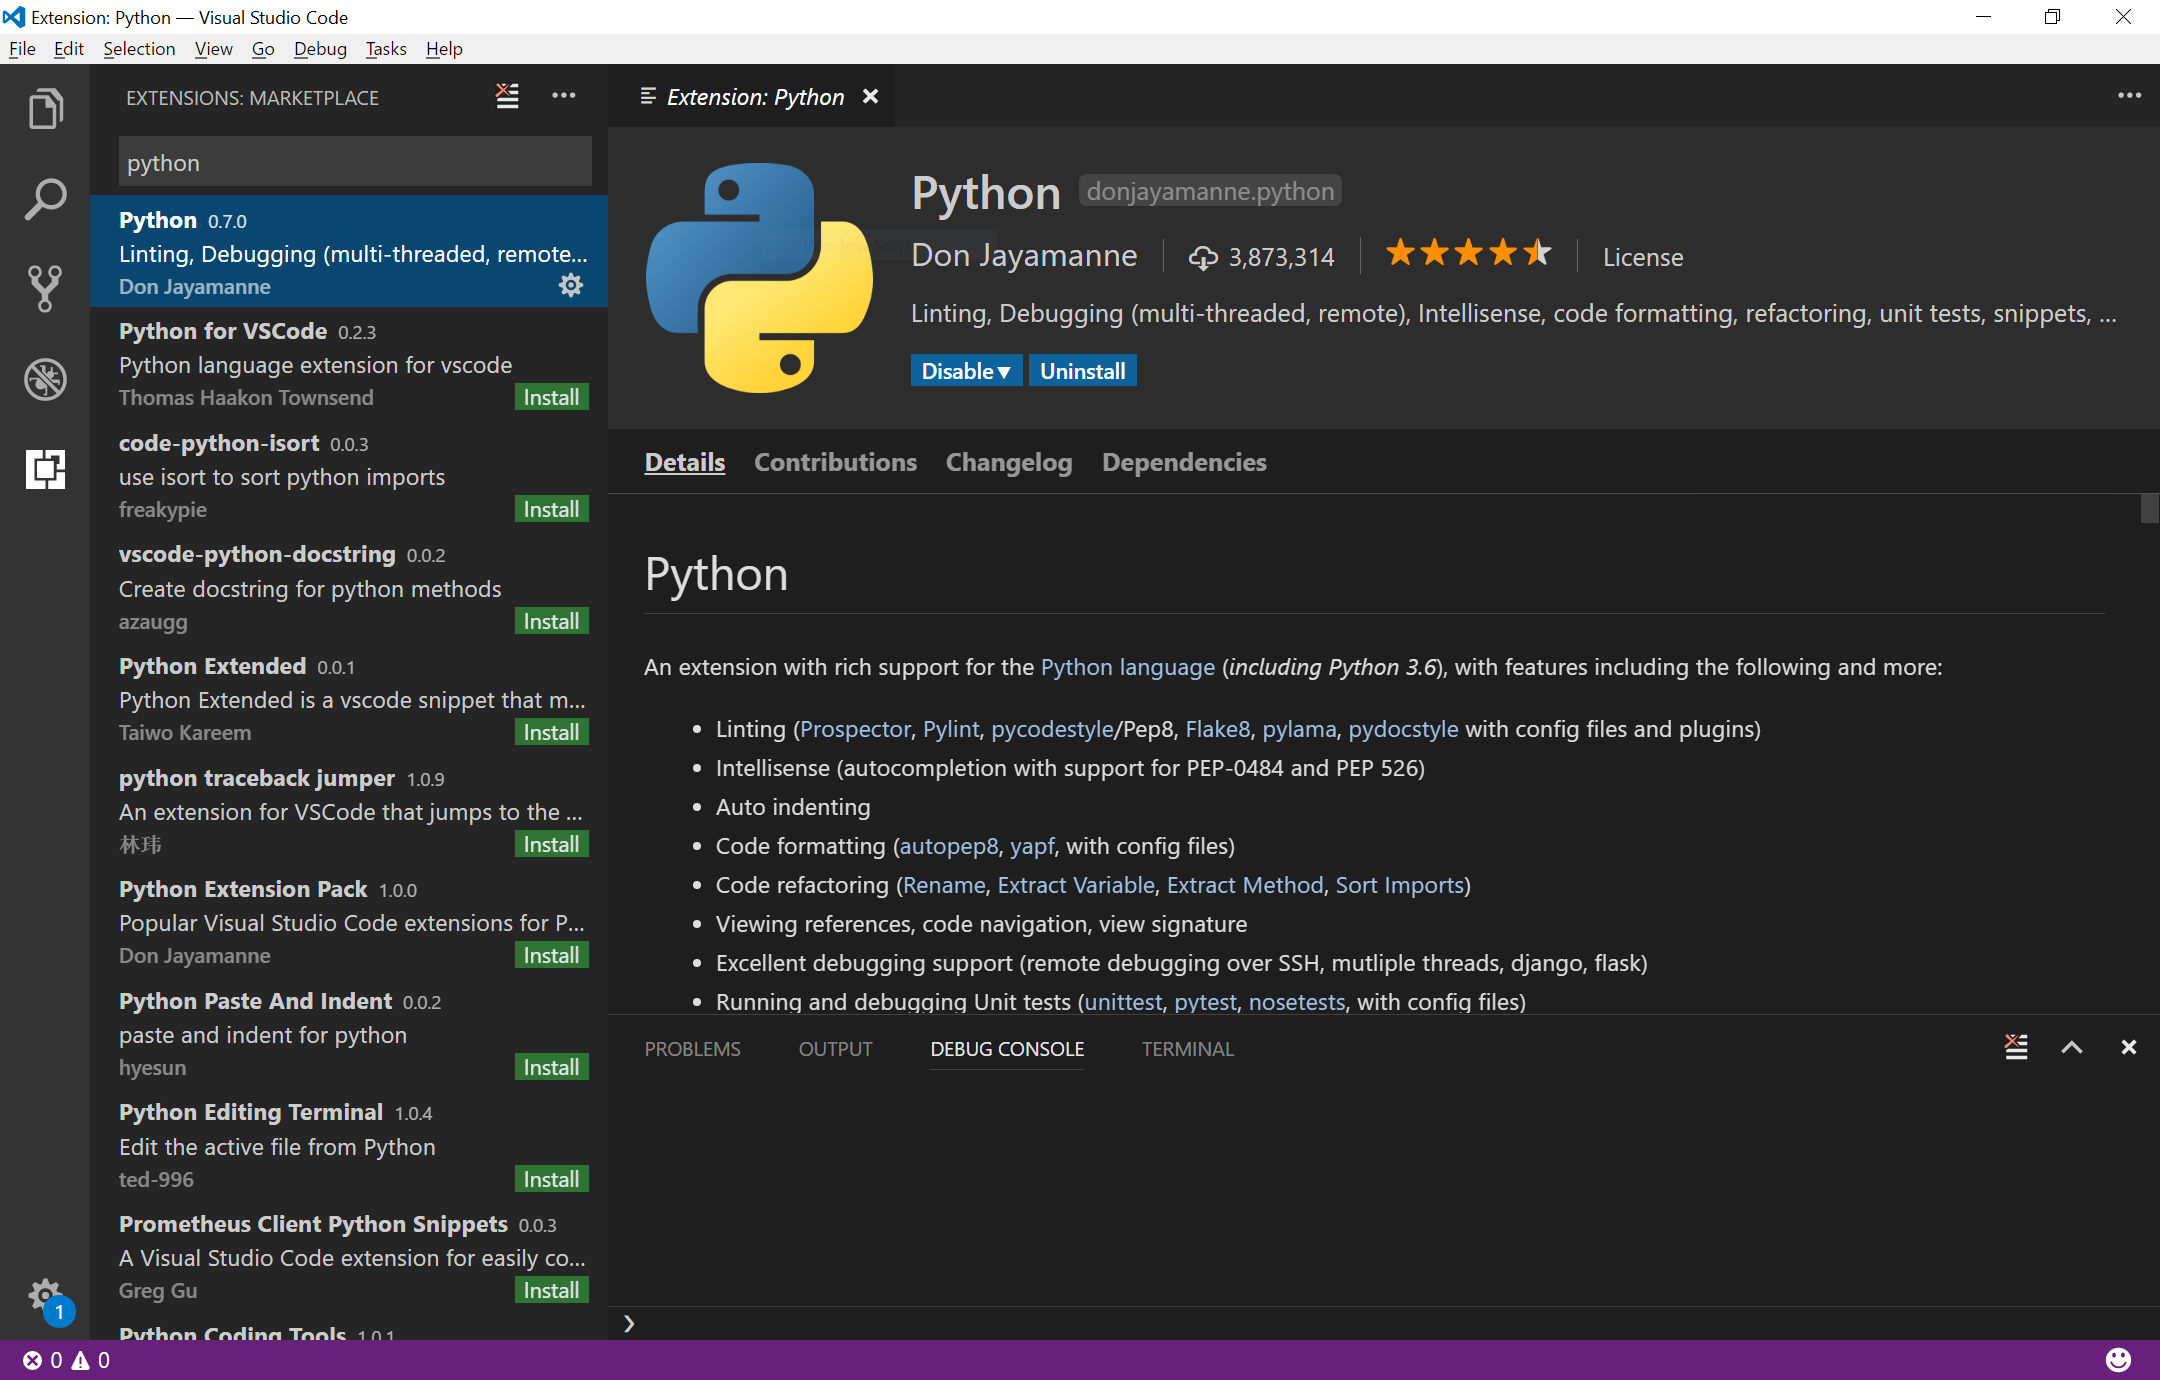
Install the Python extension to get syntax highlighting, linting, auto-formatting, and other goodies:
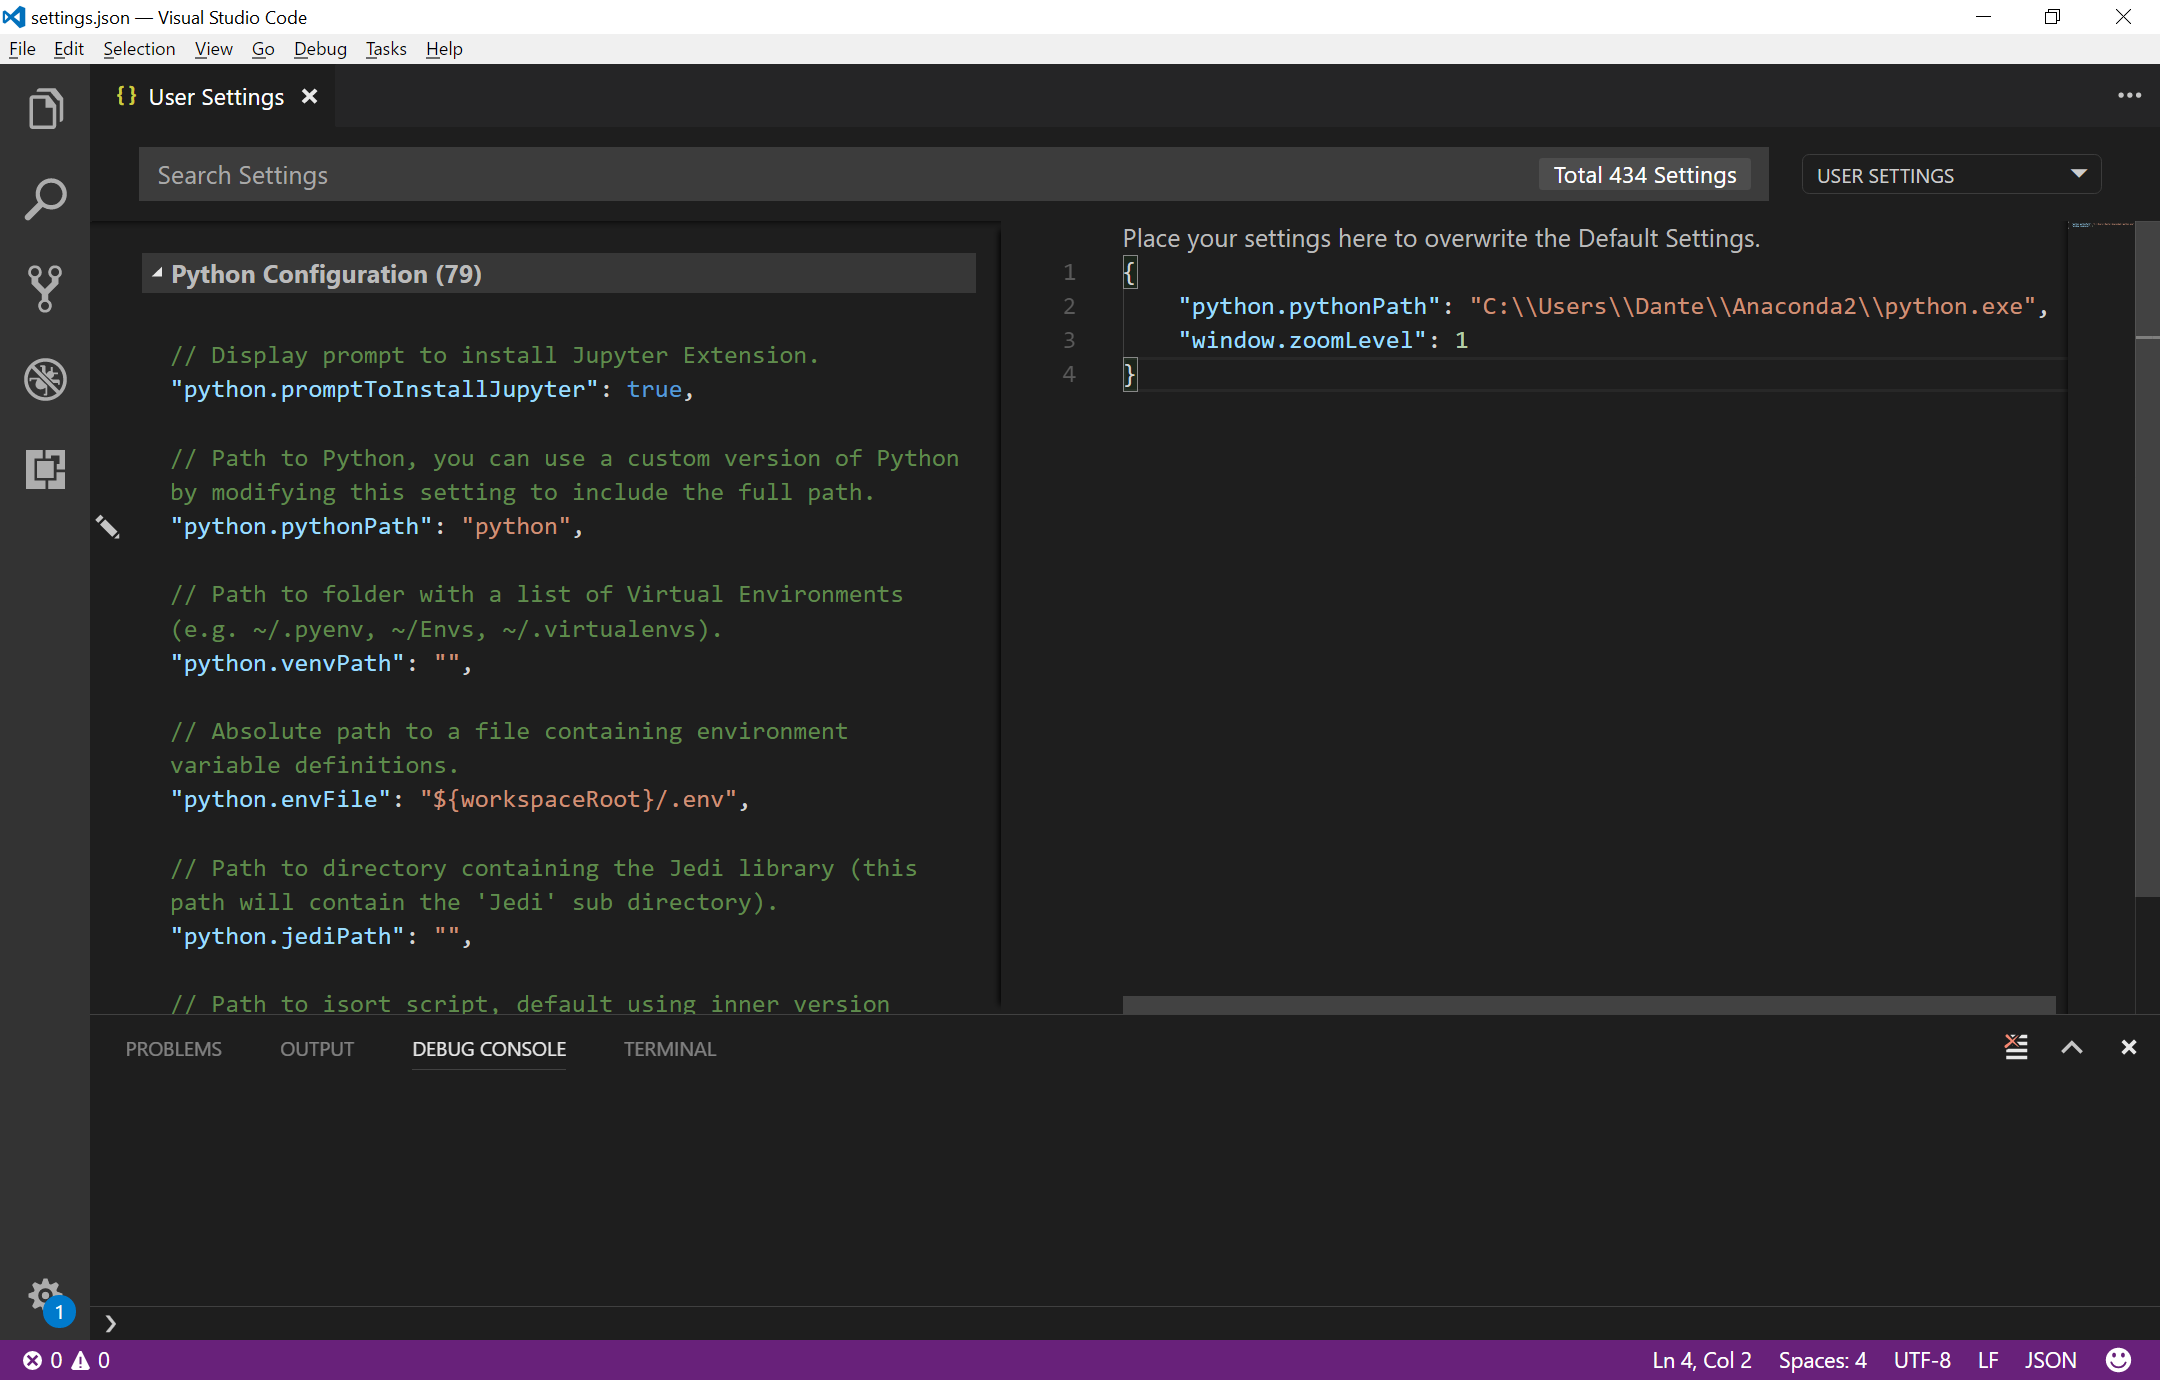
Because Python is not set up in the system path, I need to tell VSC to find it in my Anaconda install folder.
Open the Settings tab (Ctrl+comma works). In the User Settings panel, add the following:
{
    "python.pythonPath": "[Anaconda install path]\\exe.python",
    "window.zoomLevel": 1
}
Test Anaconda install in VisualStudio Code
Write a small Python hello world file:
print "Hello world!"
And run it with Ctrl+F5. You should get a Hello World! greeting in the Debug Console.
Test OpenCV
Write a Python file that imports the OpenCV module:
import cv2

cv2.namedWindow('Hello OpenCV')
cv2.waitKey(0)
cv2.destroyAllWindows
When I run this, I am greeted with a window created through OpenCV that will close on a key press.
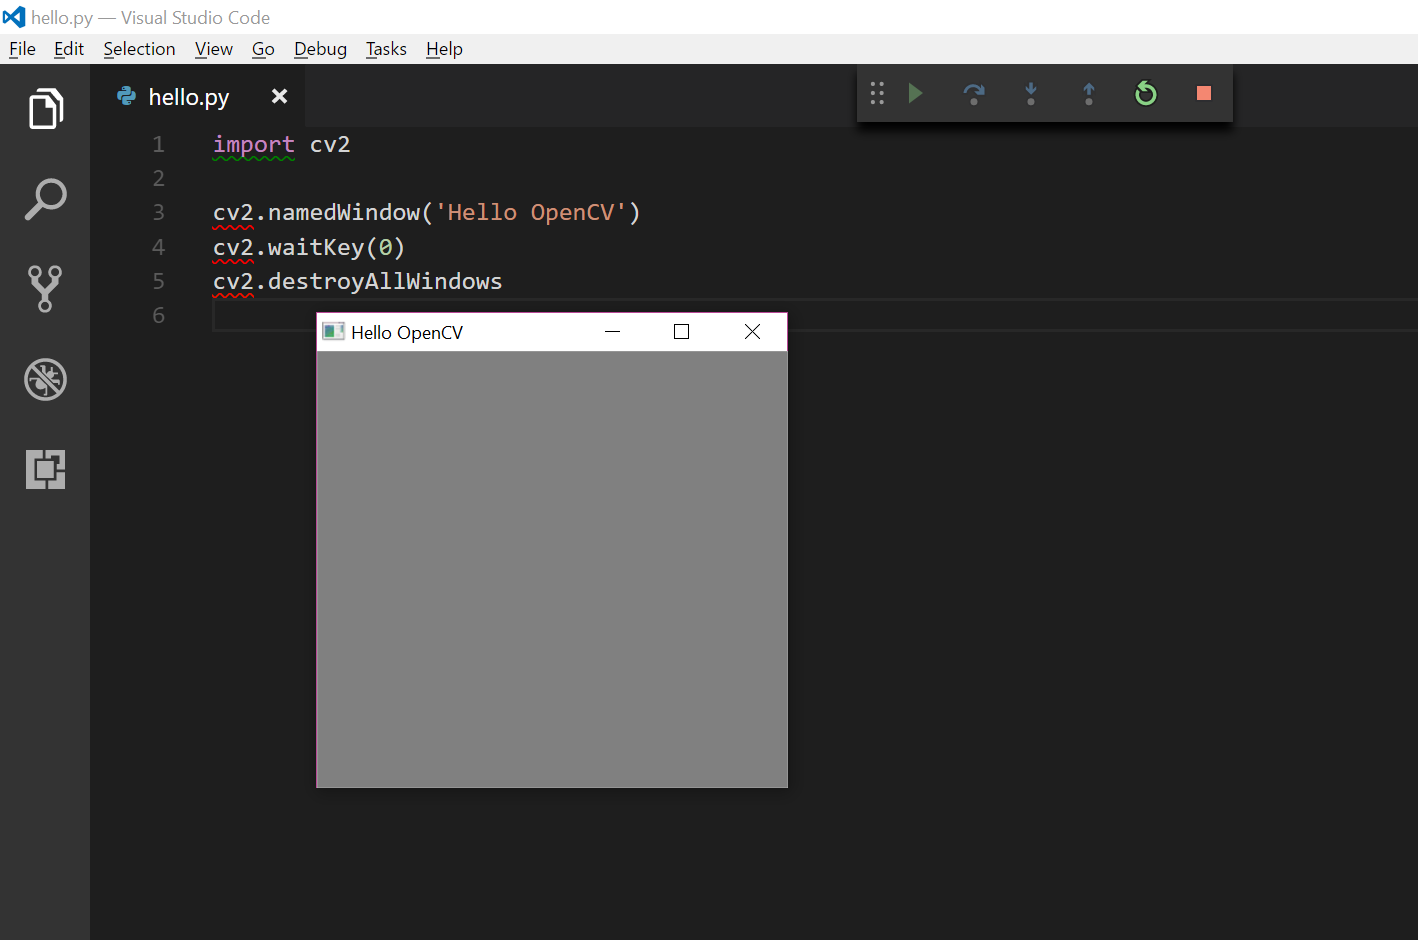 Success!
Bonus Round: Getting ffmpeg Support
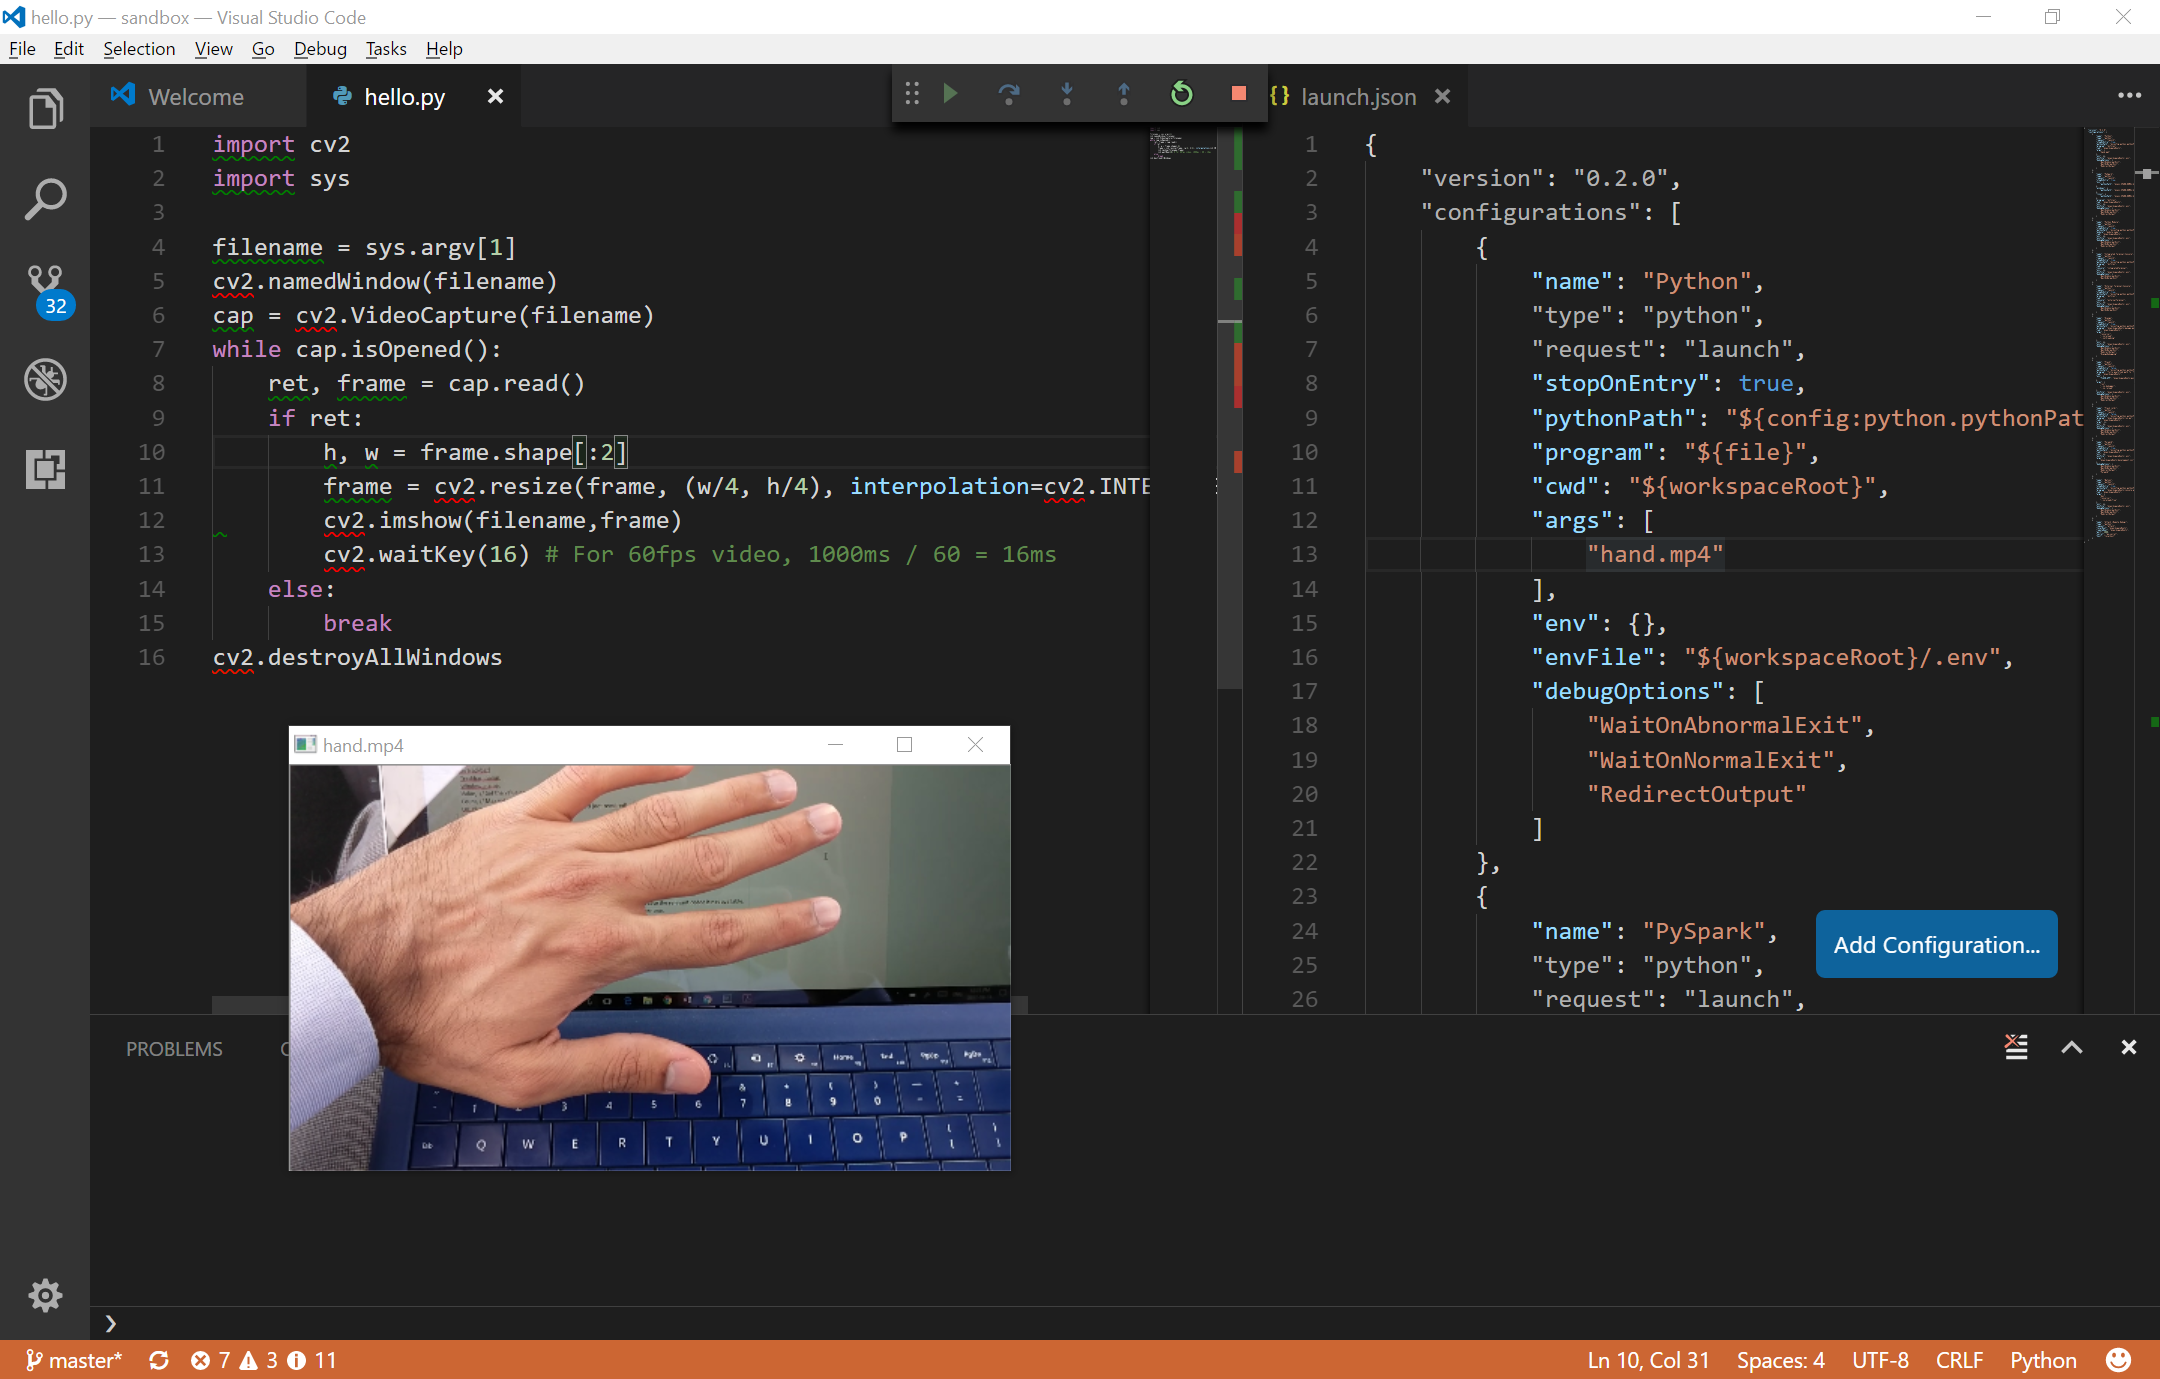
OpenCV supports AVI video out of the box, but I need to install the ffmpeg library to open MP4 videos.
The OpenCV package includes a file called opencv_ffmpeg320_64.dll under the build/bin folder. Copy it to the Anaconda2/ root folder. Now we can test it:
import cv2
import sys

# Run this program with the video mp4 filename as the only argument.

filename = sys.argv[1]
cv2.namedWindow(filename)
cap = cv2.VideoCapture(filename)
while cap.isOpened():
	ret, frame = cap.read()
	if ret:
		cv2.imshow(filename,frame)
		cv2.waitKey(16) # For 60fps video, 1000ms / 60 = 16ms
cv2.destroyAllWindows
I add the video filename to the args array in the launch.json file, and now I can run program with Ctrl+F5 as if I had entered the filename in the command line.
I am currently porting all…a lot of the samples and exercises in O’Reilly’s Learning OpenCV from C/C++ to Python. Check out this Github repo for lots of simple OpenCV examples.
Questions? Comments? Give me a shout!