3D Print a Light Switch
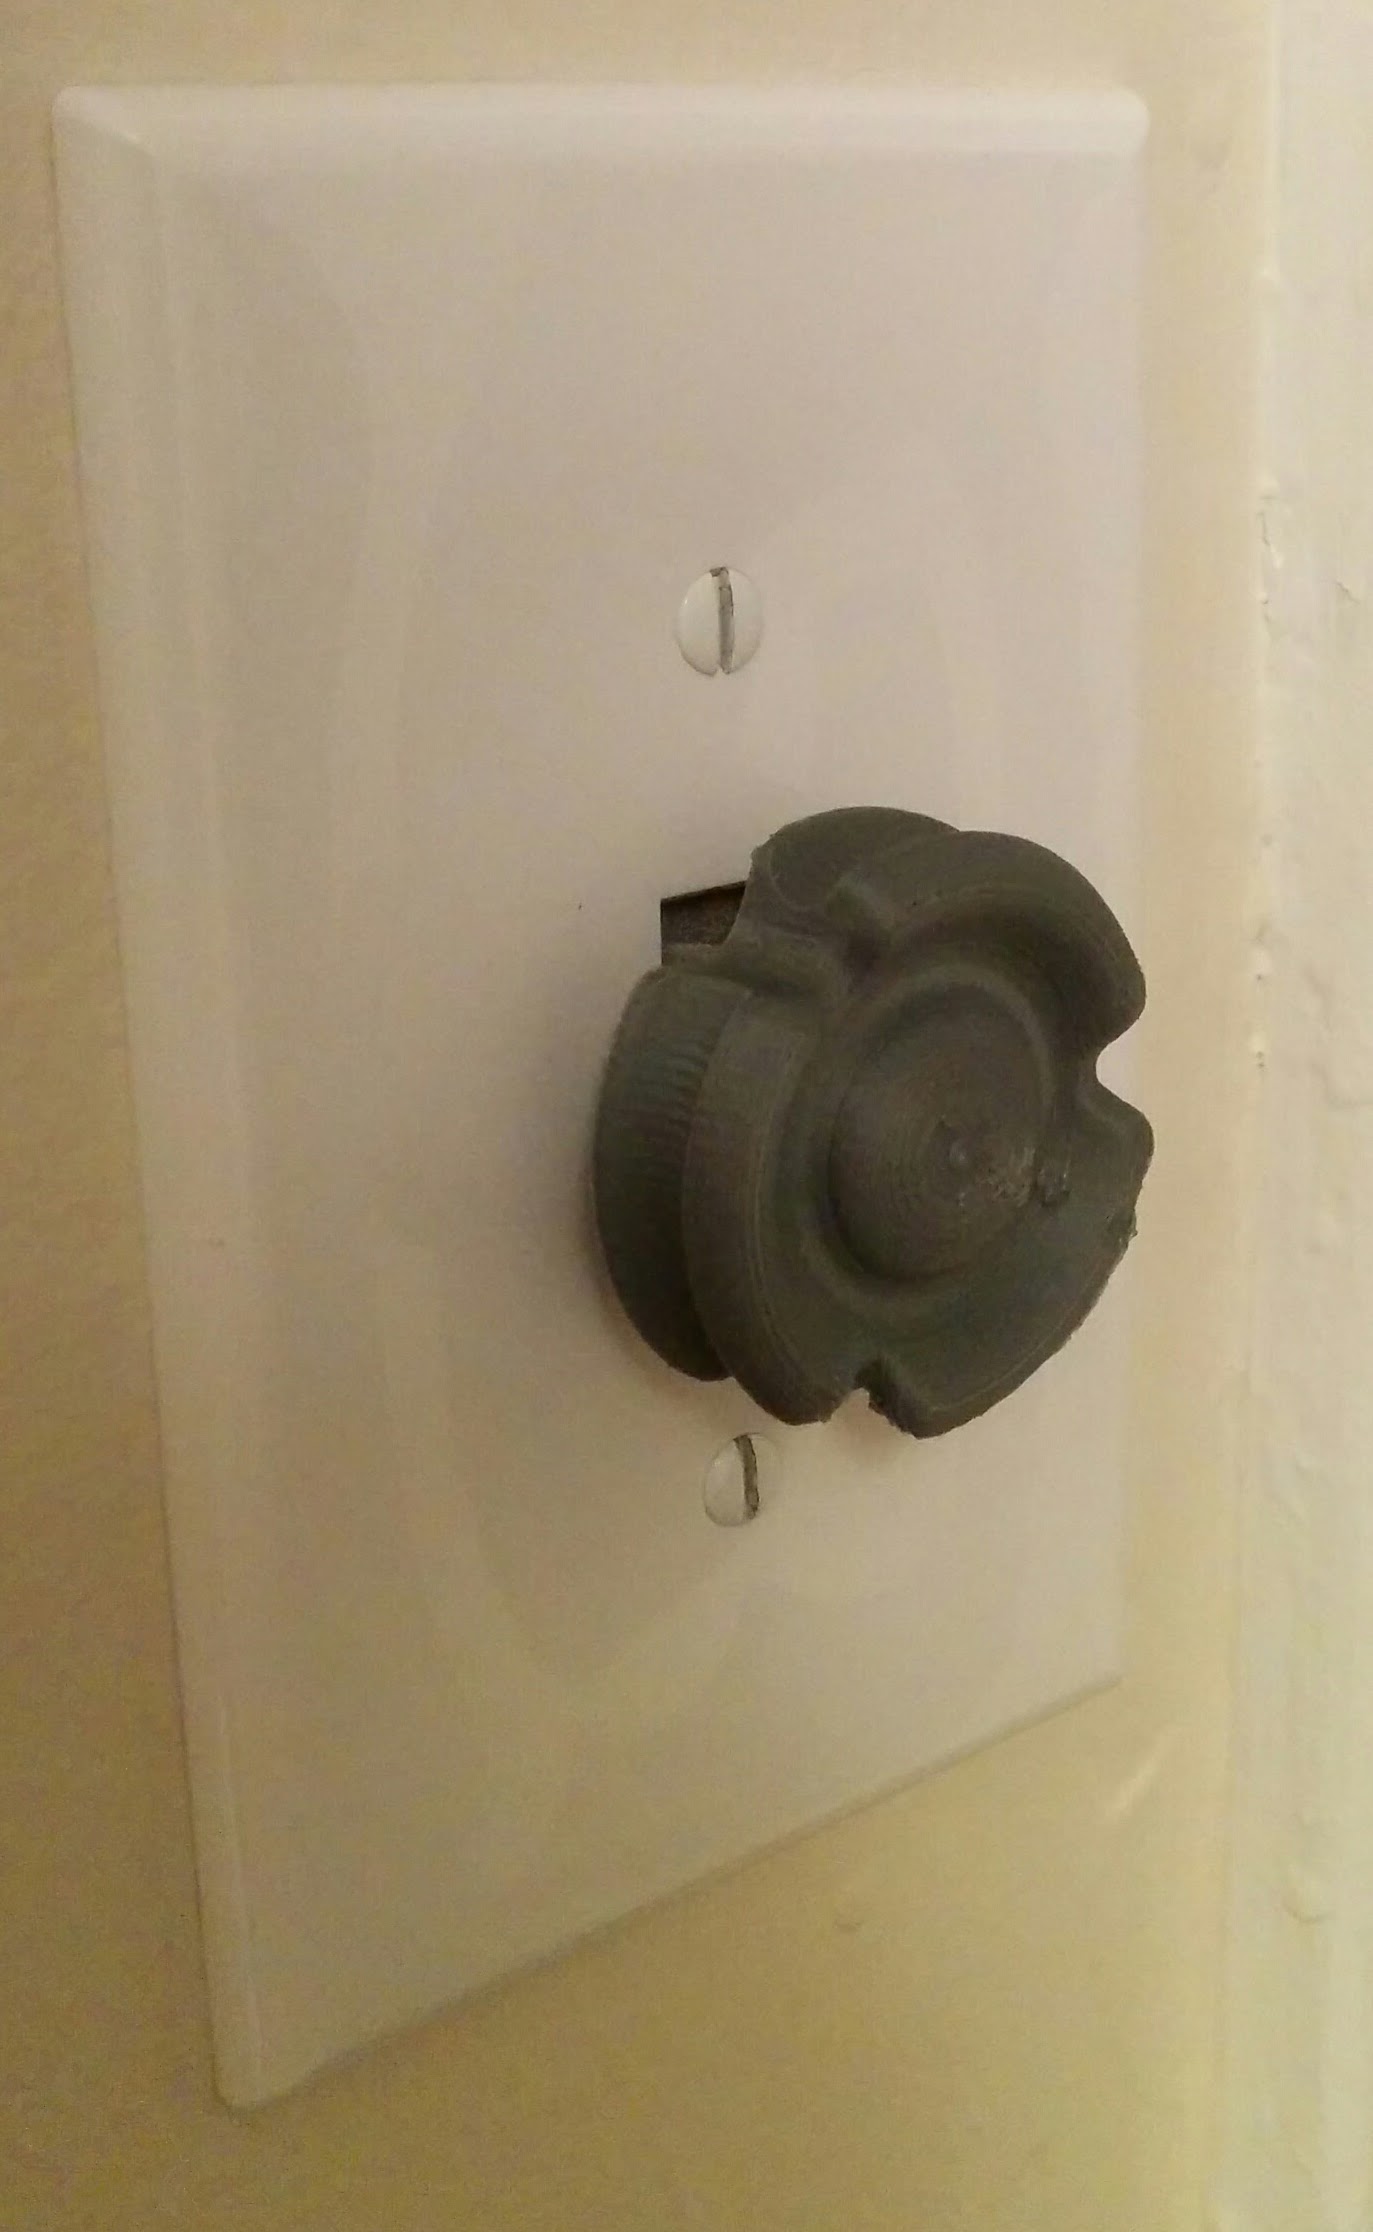
The house I live in is old. It has many old things in it. One of them was a light switch/dimmer knob in the master bedroom that allowed you to:
- Turn the light on and off by pushing it.
- Control the brightness by rotating it.
About a year after moving in, it started to pop off whenever I would push it. I thought “why not print a new one?”- enter Fusion 360.
I have more experience in SolidWorks than just about any other software. That said, I do like trying new things.
One of the great things about spending time at a makerspace is that you hear about all sorts of tools, skills, and techniques. One of the first bits of info that I picked up at Newmakeit was regarding Fusion 360, a cloud-based CAD software that features most of the SolidWorks functionality I need and can also be used for CAM. And the best part? It’s free for hobbyists!
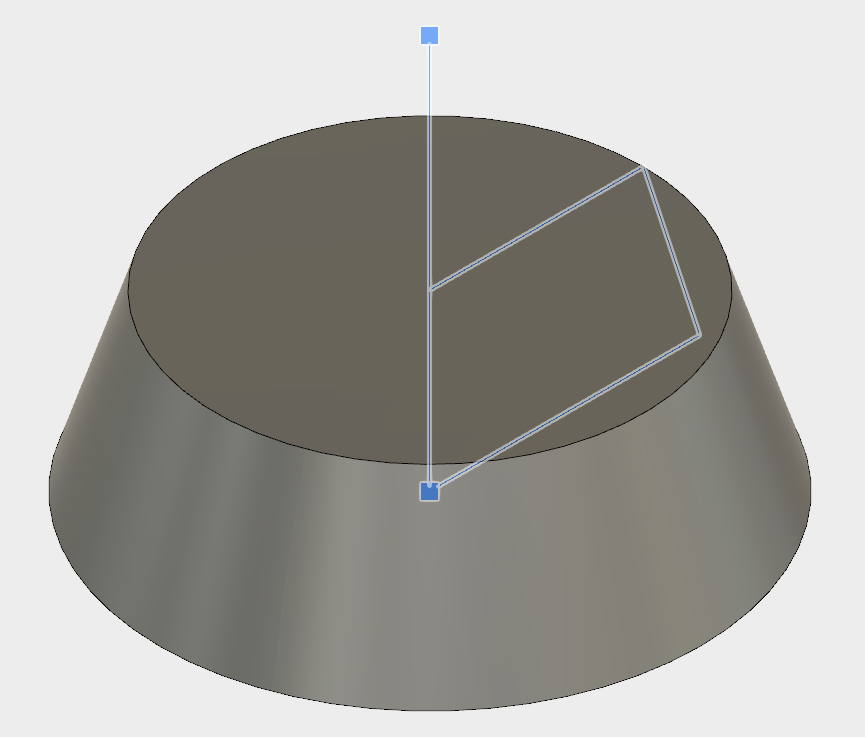
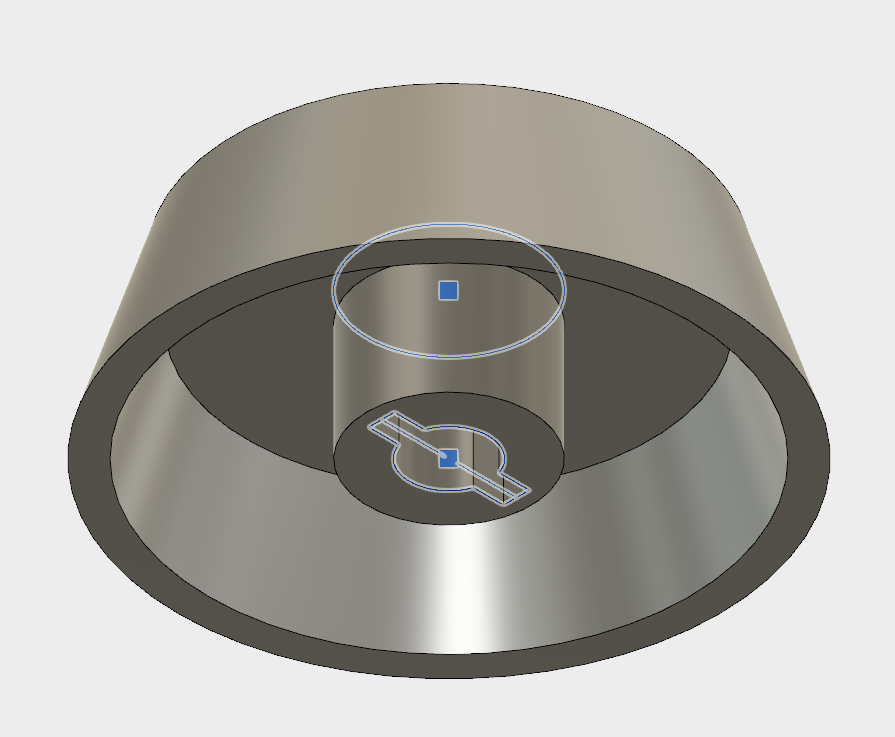
Modelling the Old Switch
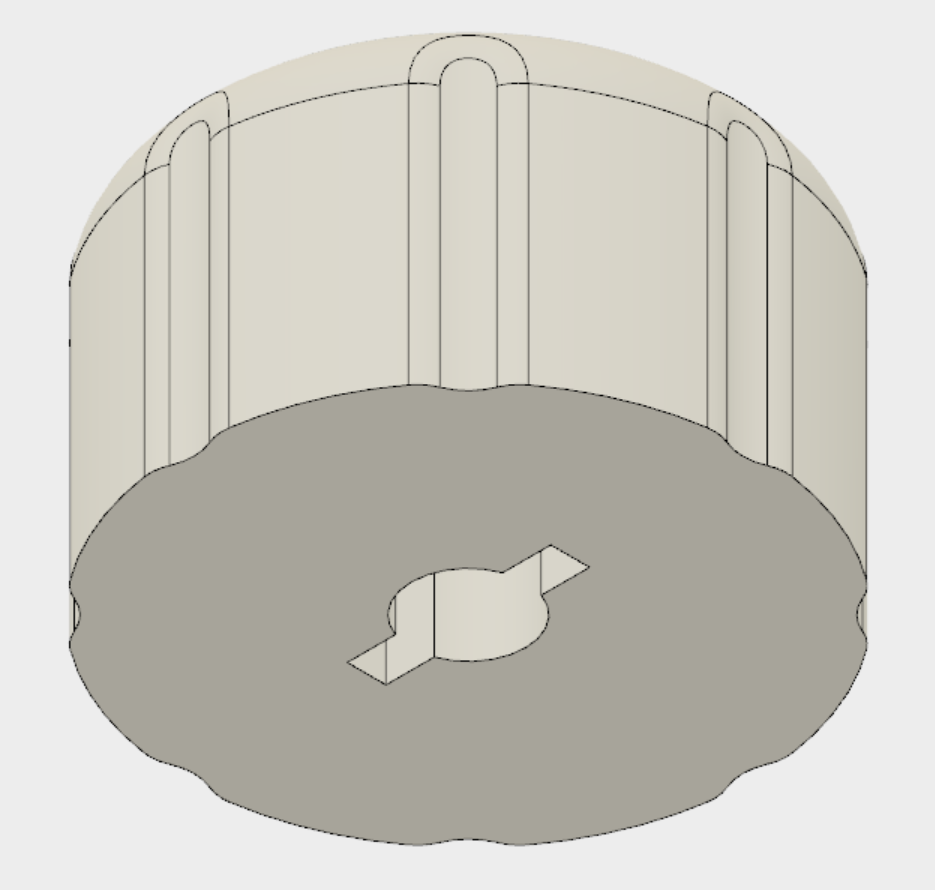
I start off by measuring dimensions aroud the switch:
- Outside diameter and thickness.
- Mounting pocket features.
I don’t care about the intricate decoration features, since I wll be adding some of my own. I end up with this:
New Switch: MKI
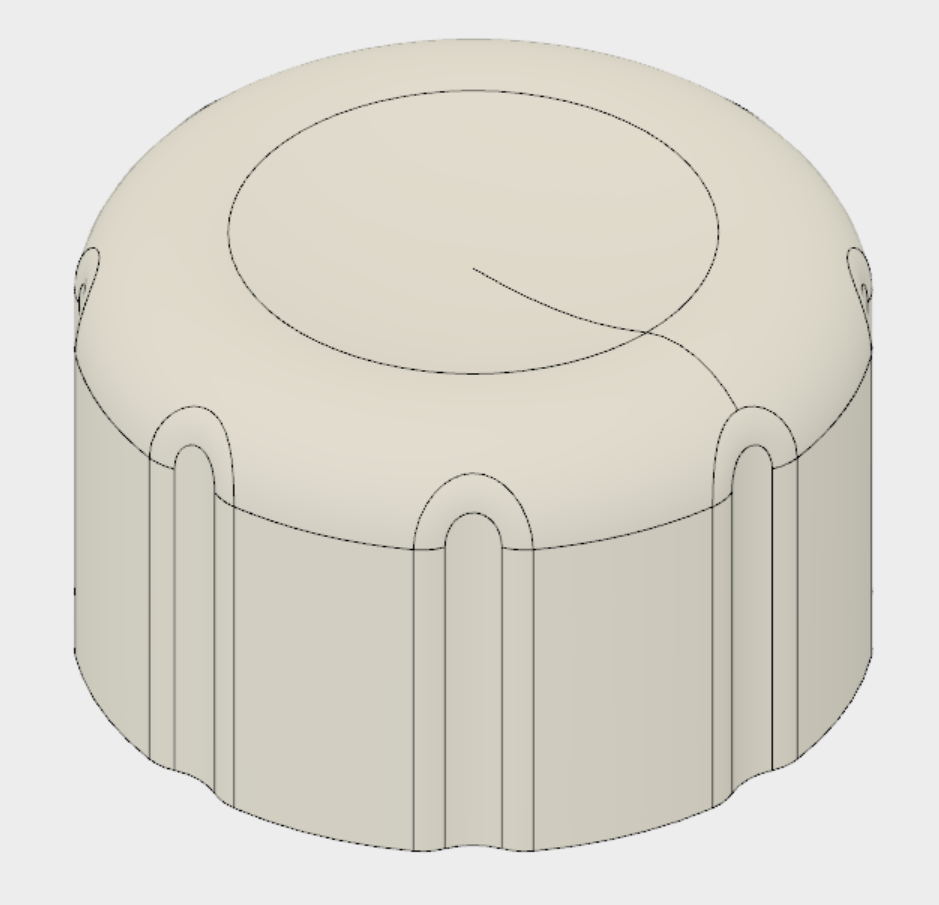
I add three channels down the sides of the knob and give it rounded edges at the top and bottom:
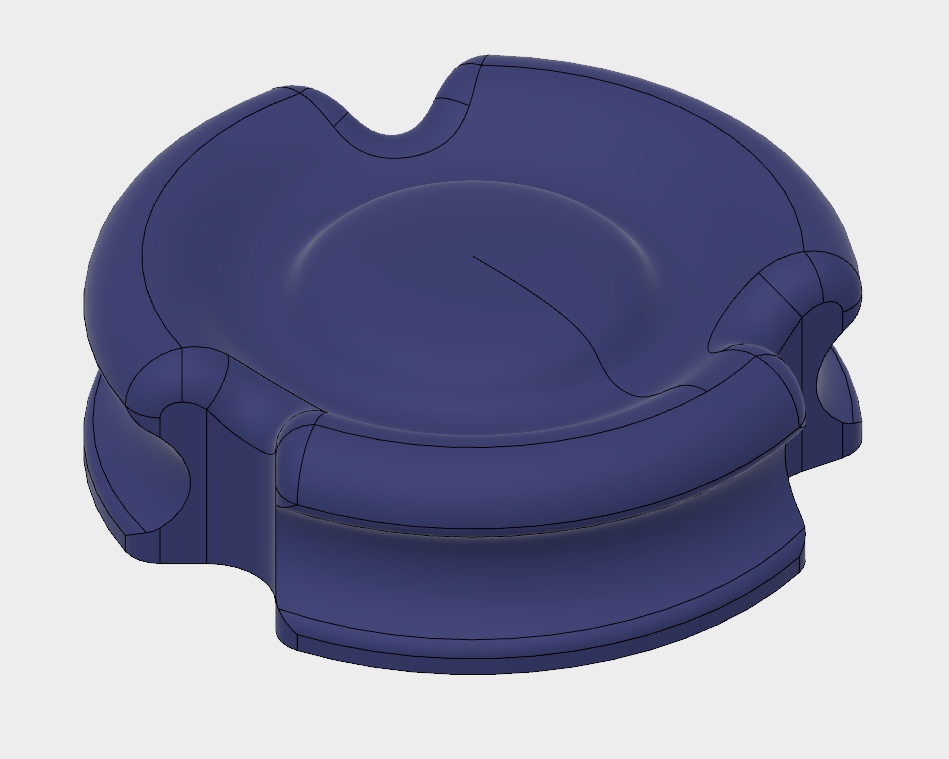
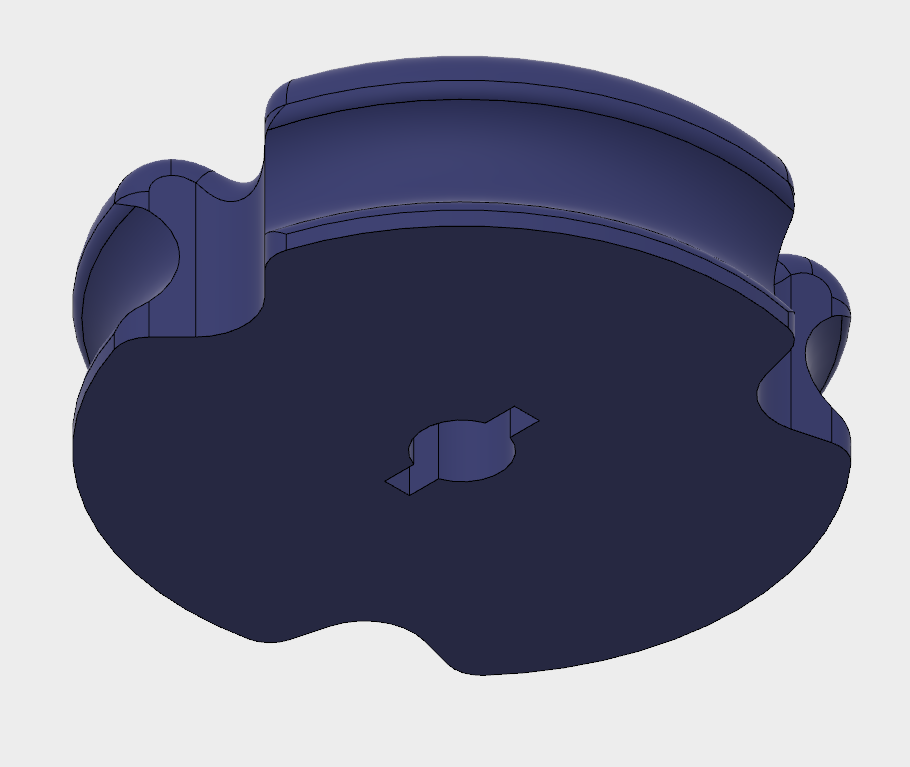
Looks OK, so I head over to Newmakeit and print it in the MakerBot Replicator II.
Once I take it home I notice that:
- The mounting pocket/key is too tight, so it won’t go all the way into the shaft.
- The outside feels rather clunky- the contour is far too complex, and the diameter can be shrunk quite a bit.
New Switch: MKII
With one prototype built, I make some adjustments:
- Open all the mounting features by 0.5mm.
- Bring the overall diameter down- it will allow the knob to “blend in” better, and it will reduce wobble about the shaft.
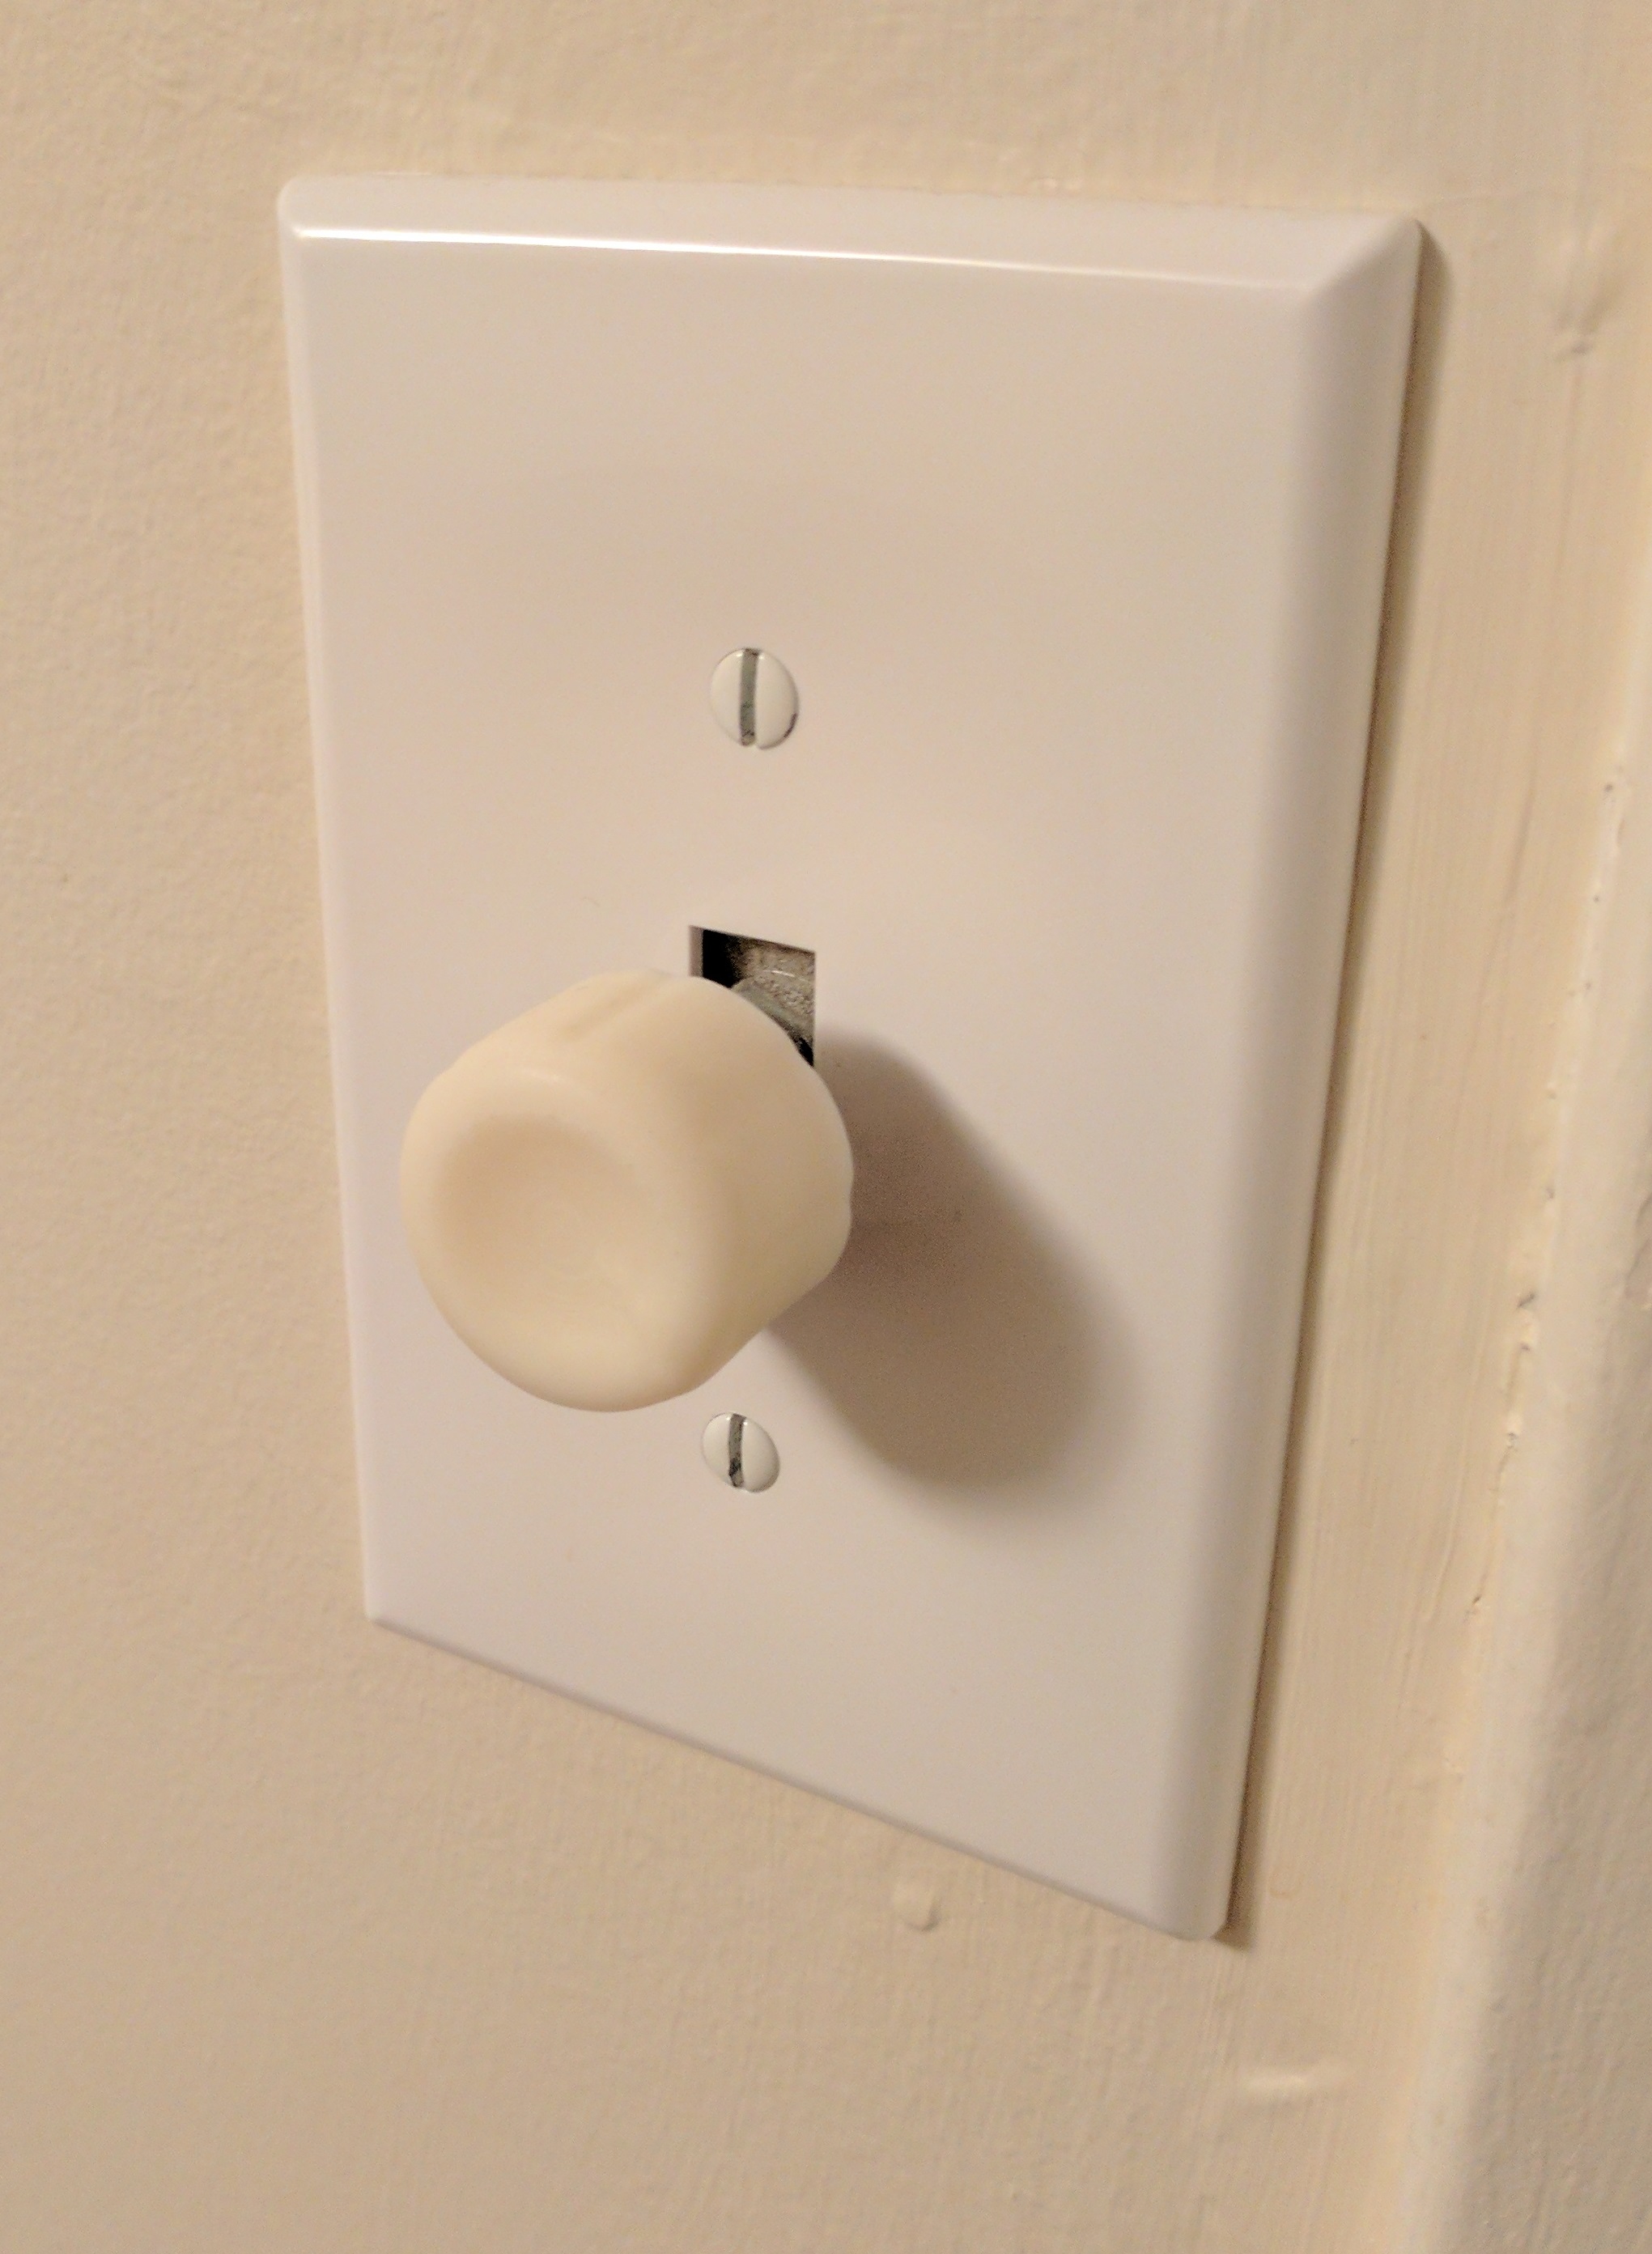
- Remove the three deep grooves on the sides and turn them into several more shallow ones.
- Make the sides flat and make the top convex only.
When I got to Newmakeit for round 2, someone suggested glow-in-the-dark filament- it makes perfect sense! The colour is now much more in tune with the rest of the fixture, the fit is great, and it actually guides you to it in the dark! Here it is after about 5 minutes of vigorous sanding with 200-grit sandpaper:
Lessons learned
- Account for shrinkage! I now expect up to 0.5mm shrinkage in all axes.
- Look past the layer lines in ABS- the texture becomes much more uniform after sanding.
- Just because you can add complex geometry for free when 3D printing, it doesn’t mean you should.
Questions? Comments? Give me a shout!