Laser Engrave a Wallet
For my first post, I will outline a workflow for laser engraving using Inkscape with an Epilog Helix laser system in mind.
I have an aluminum wallet I love (thanks dad!), and shortly after joining Newmakeit I figured I would use the Helix to add a custom engraving to it. If you have an aluminum piece that is either anodized or powder-cated, it’s ready for engraving (I may be oversimplifying things a bit).
I’m a Sigur Rós fan and really like the birds motif they use in some of their artwork, so I set out to engrave a flock of birds and my name on the wallet.
Bitmap source
I grabbed some free clipart from the web:
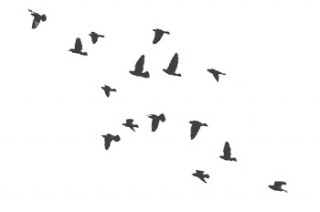
It’s rather low-res, but that will work out since I am looking for a minimalistic, simplest-shapes feel.
Name source
I captured my handwritten name with my Surface and saved a PNG of it.
Inkscape
I start a new document and set the document properties to 24” x 18” in Landscape mode to match the laser platform.
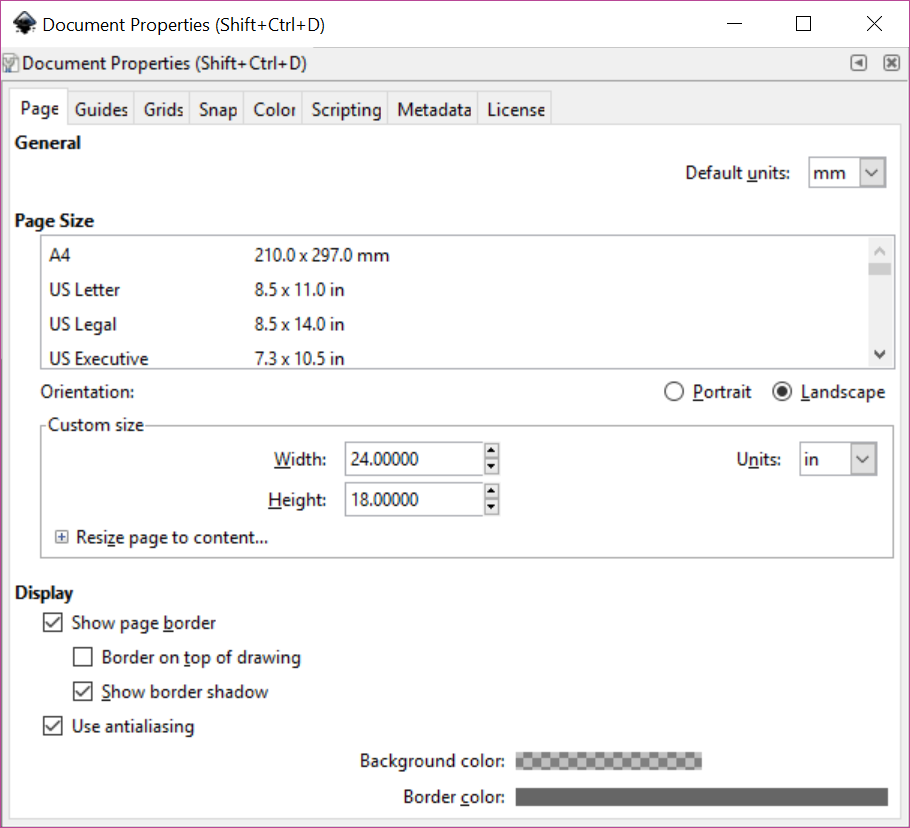
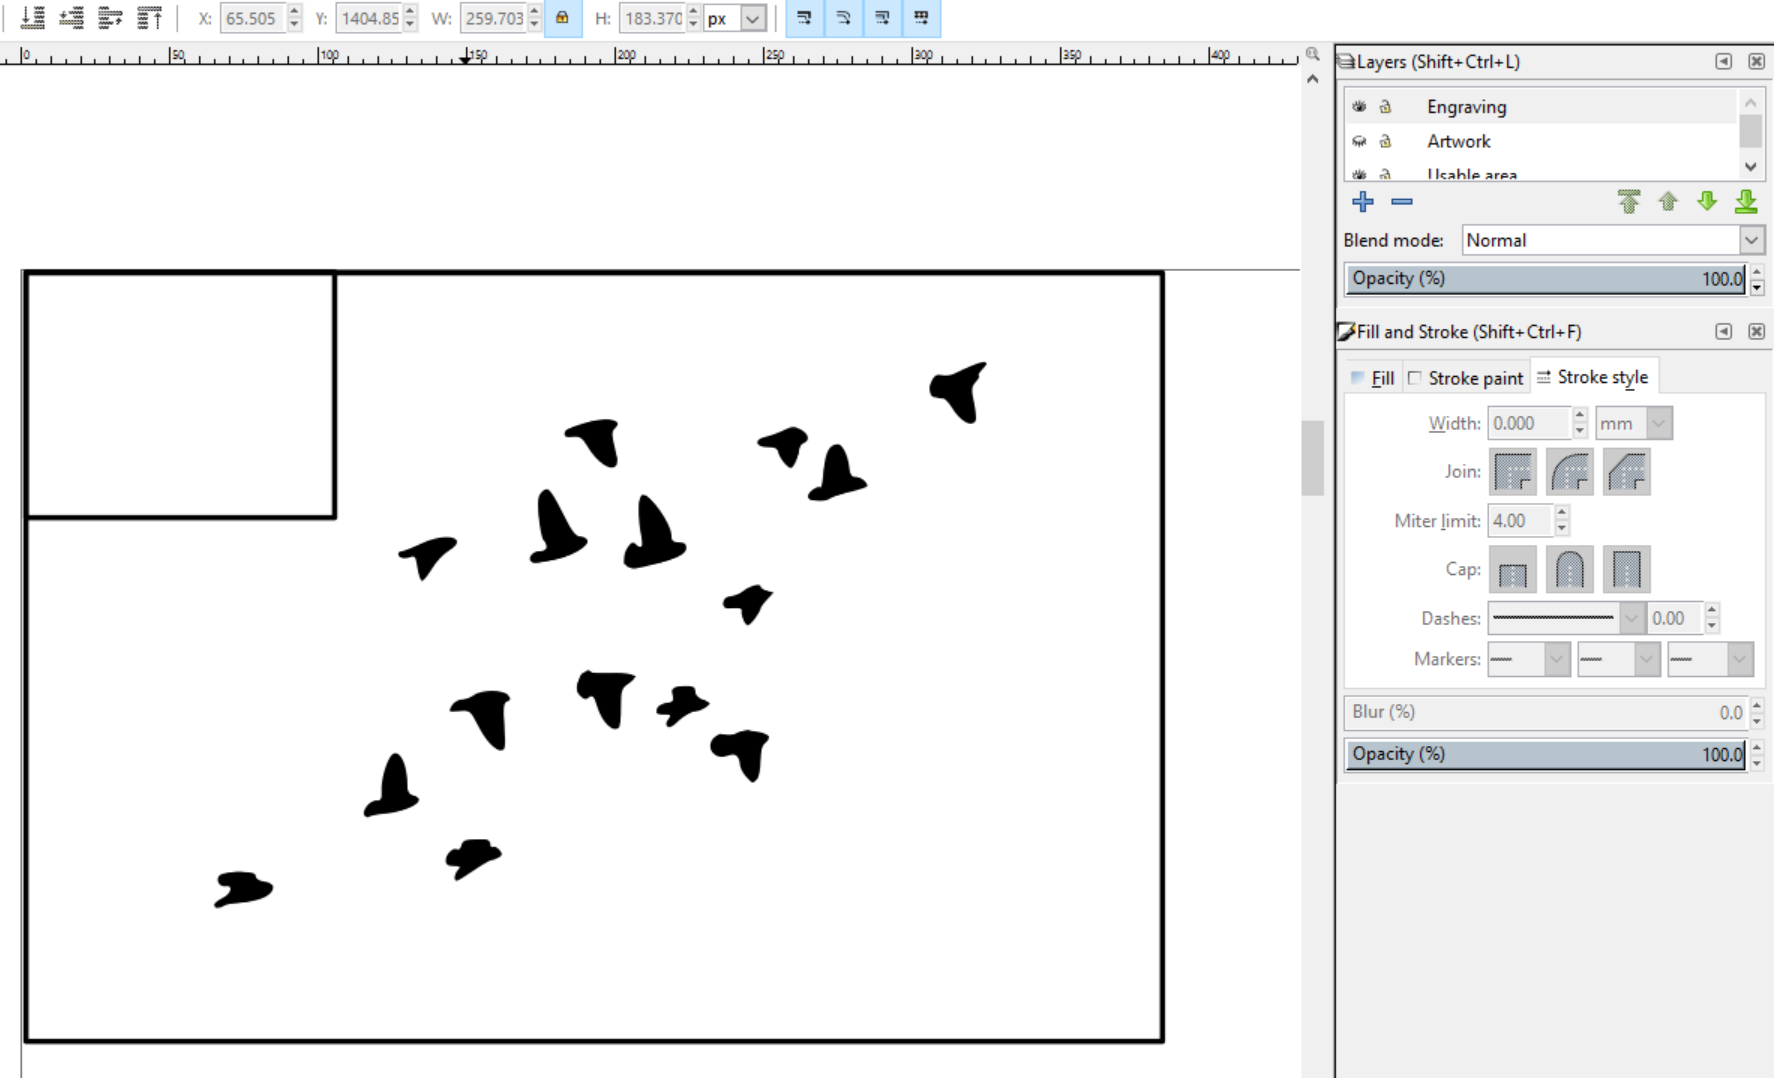
Then I need to set the usable area. My wallet measures 108mm x 73mm, so I create a layer called Usable area and draw a rectangle at the top right corner with those dimensions. I also add a “keep out” area that represents the wallet logo in the corner.
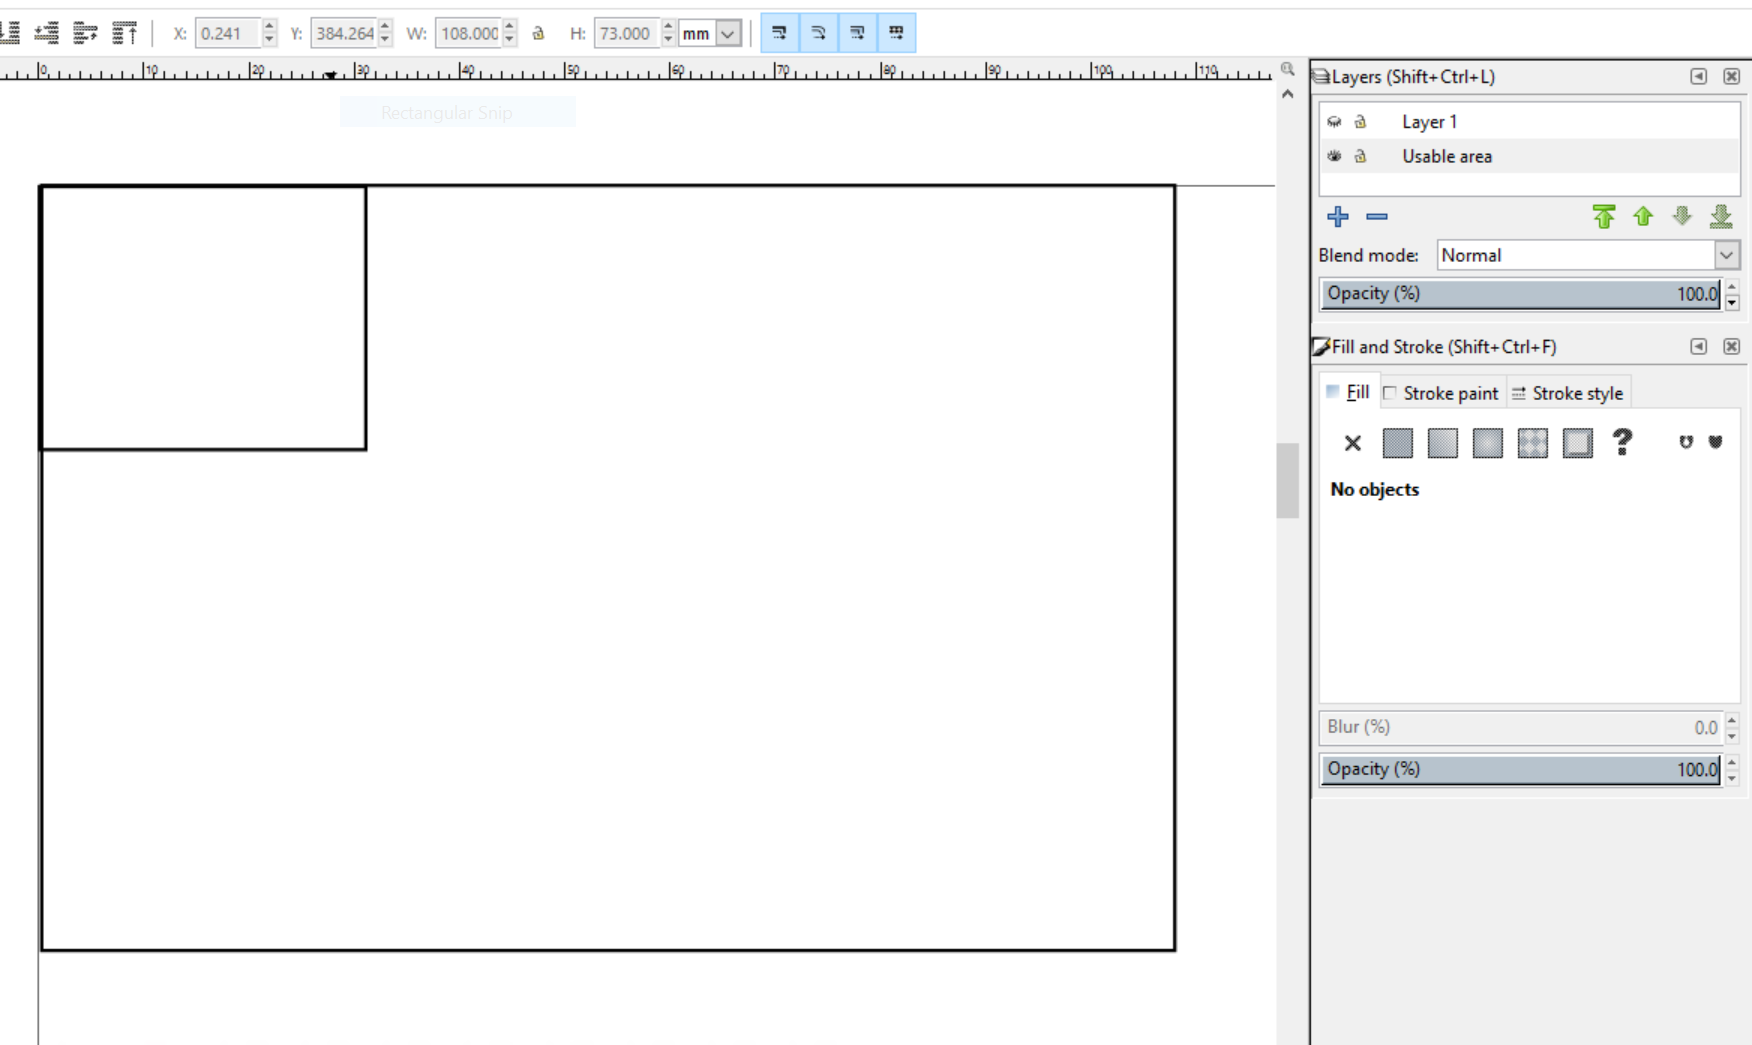
With my frame in place, I create another layer to drop the artwork in (File->Import). I have to flip and invert the image to get the birds flying in the right direction and avoid the logo.
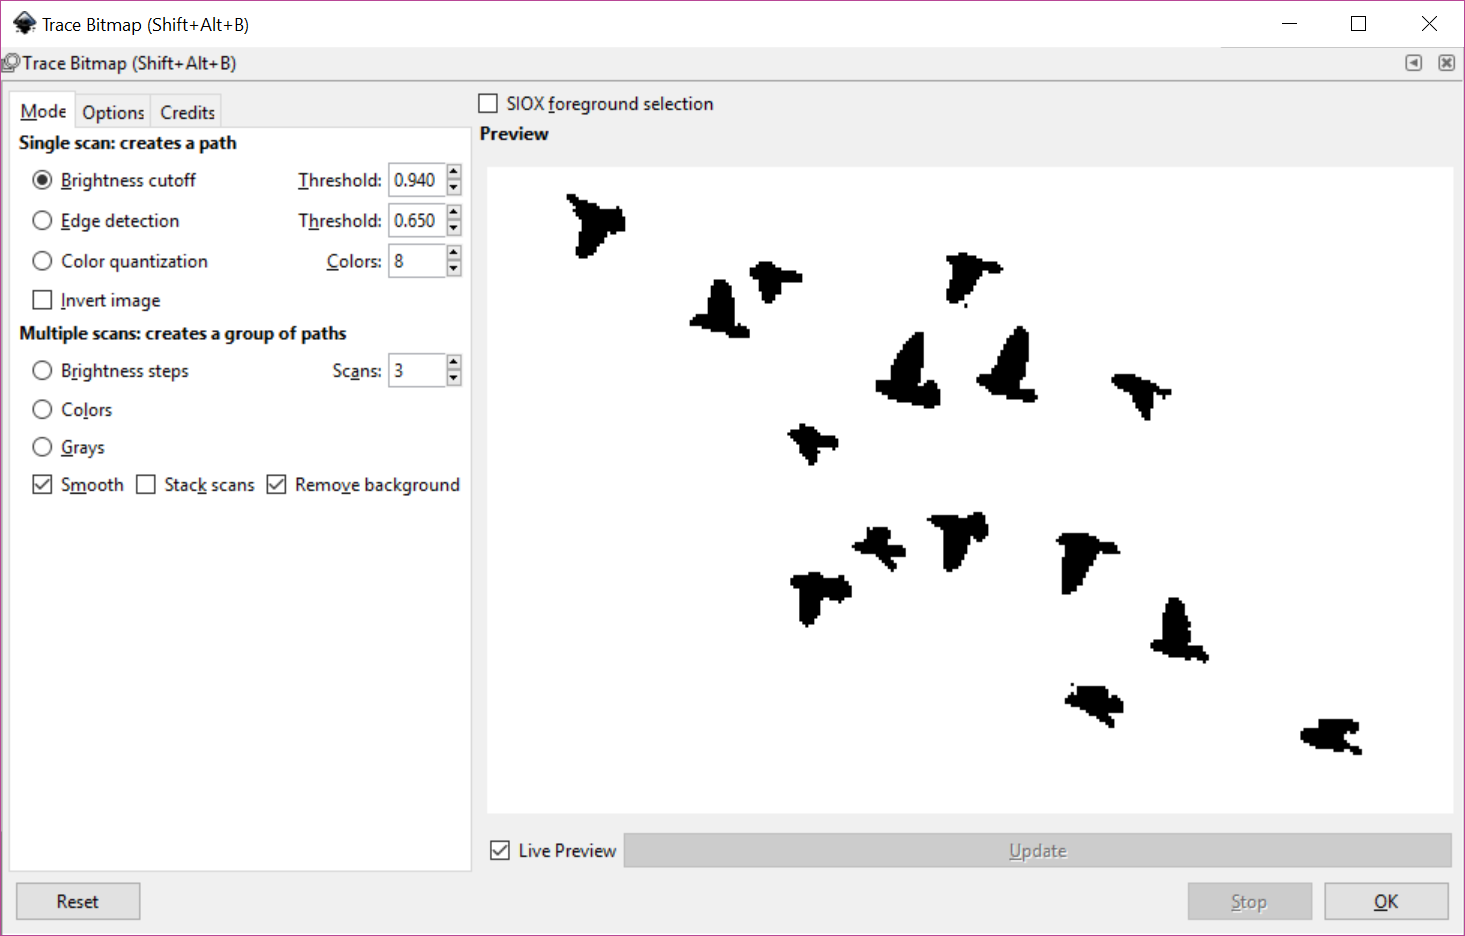
I select Path->Trace Bitmap, and use Brightness cutoff in the single scan section.
I can now move this trace to an Engraving layer.
I follow the same steps above to bring in and trace the handwritten name.
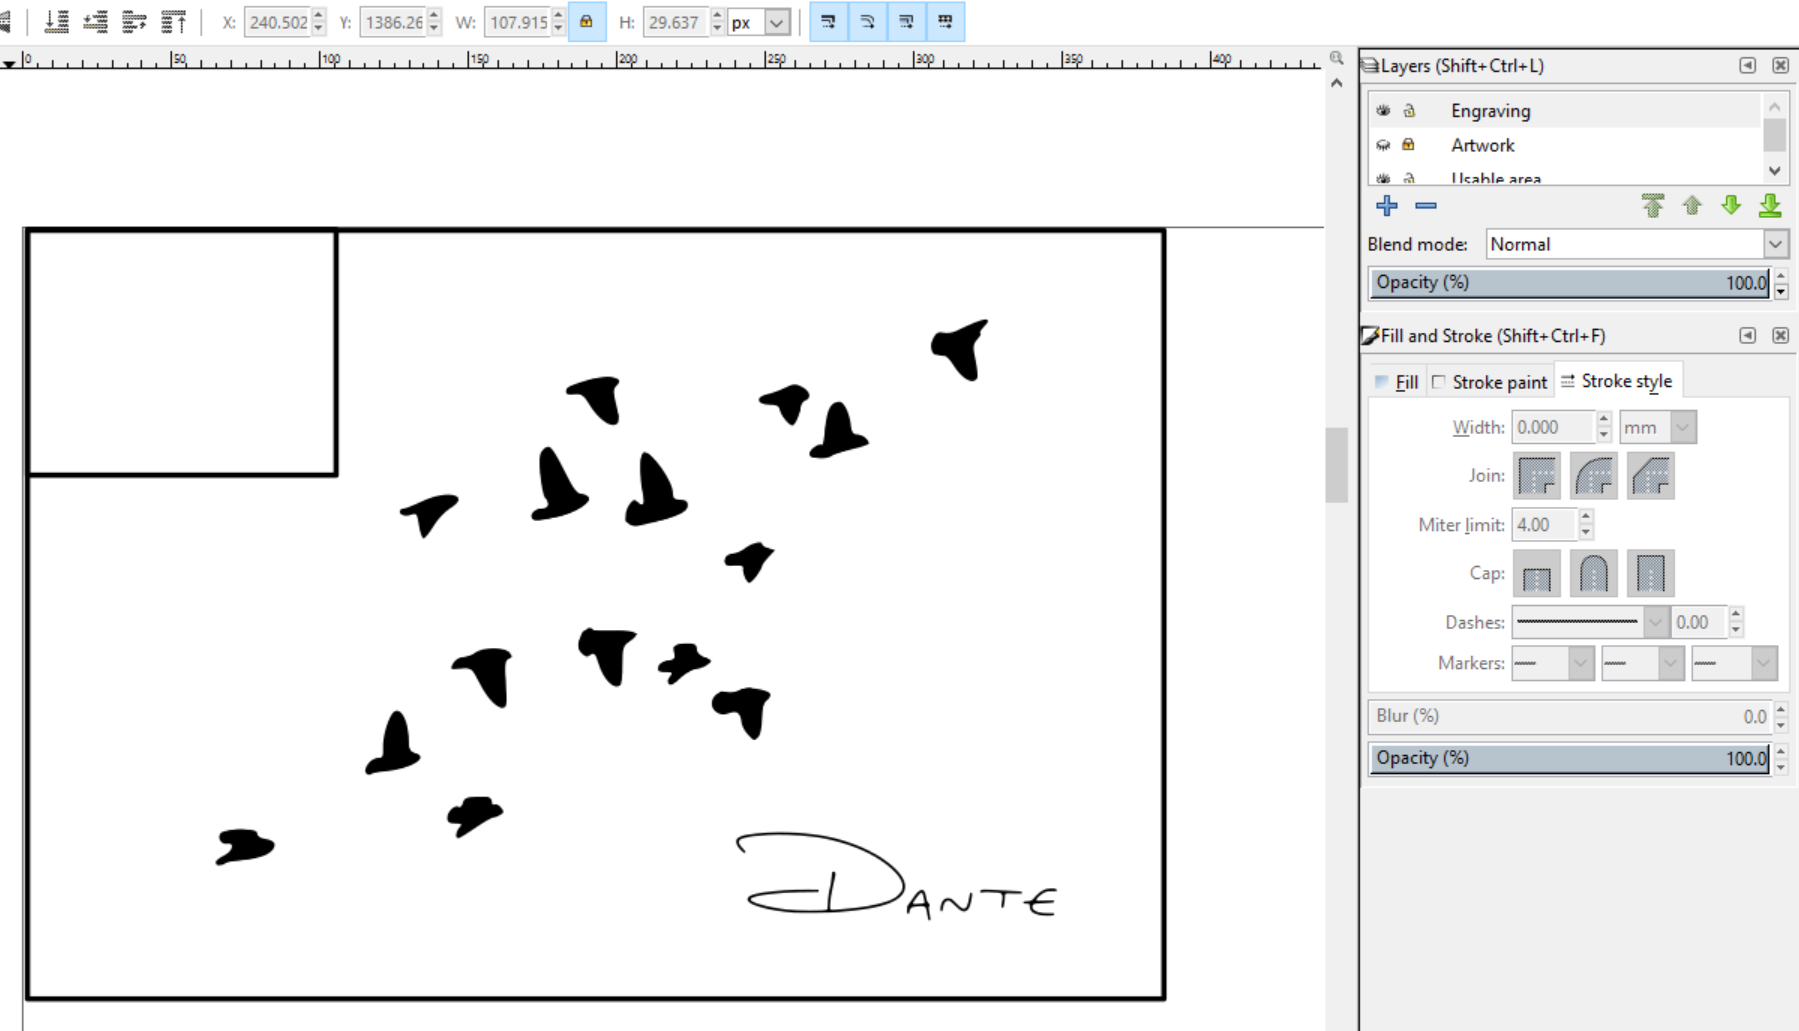
All that is left is to hide the Usable area and Artwork layers before saving the file as a PDF. I open the file in Adobe Reader and do a quick check on the shapes and outlines, mostly making sure the “construction” layers are not visible.

Send it to the Helix using the recommended manufacturer settings, and five minutes later we’ve got this:
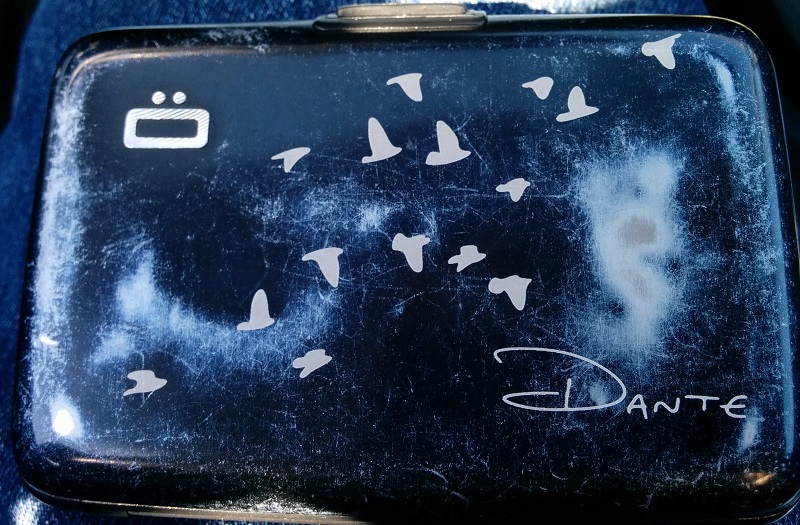
The cloudiness is from extended use (less than stellar anodizing I guess).
Questions? Comments? Give me a shout!