Build a Laser Cut Belt Holder
I have three belts and no dedicated space for them. I have been looking for a small project to use a laser cutter for, so I thought why not make myself a closet belt holder.
Model
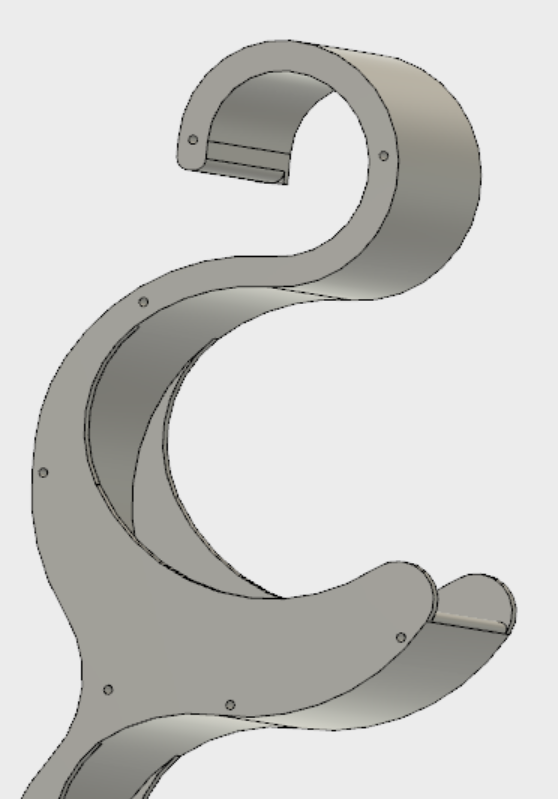
The idea is simple: a three-compartment holder that I can hang from a closet rod. Using Fusion 360, I put together a model that I can split up in multiple laser-cut layers.
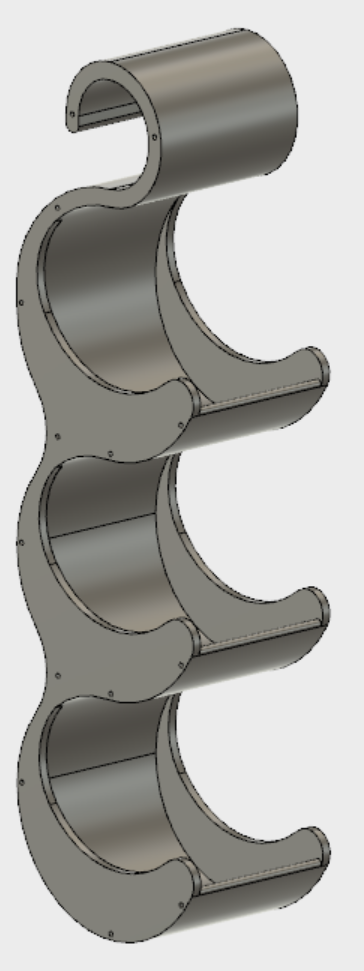
Using this geometry, I only have two unique pieces: the two end panels, and all the middle ones that make up the main body. I also add holes throughout the panels so I can align all pieces with dowels when I assemble everything later on.
Laser Cutting
Using Fusion 360, I can output a face or sketch to a DXF file. I export a DXF for each kind of panel. In Inkscape, I import each DXF and assign a “hair-line” (0.025mm) width to all shapes.
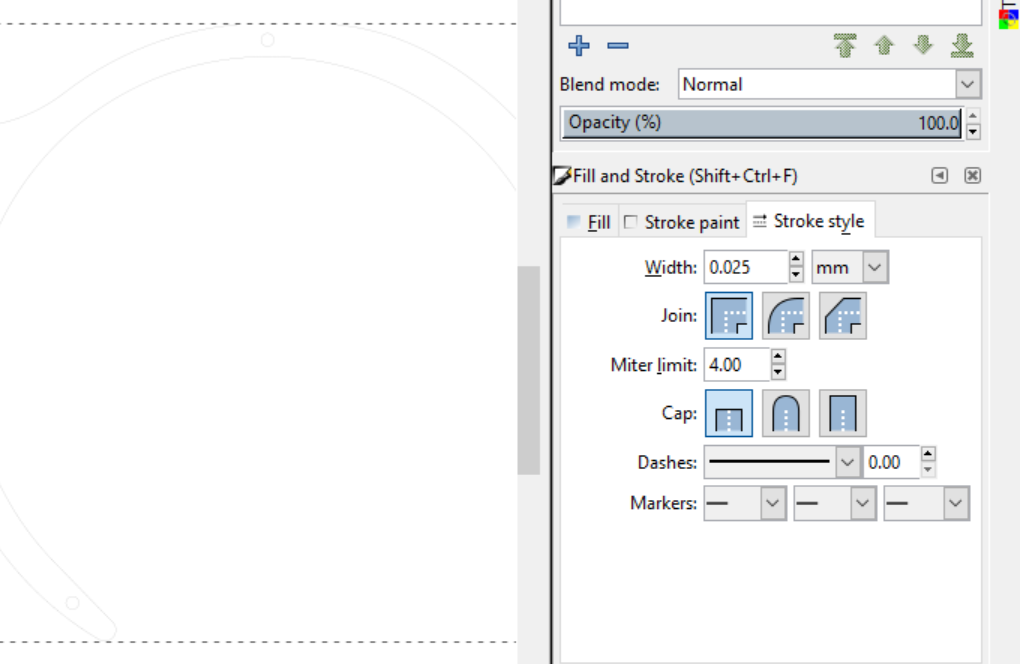
I export two PDFs: one per panel type, each PDF with two copies of the same part.
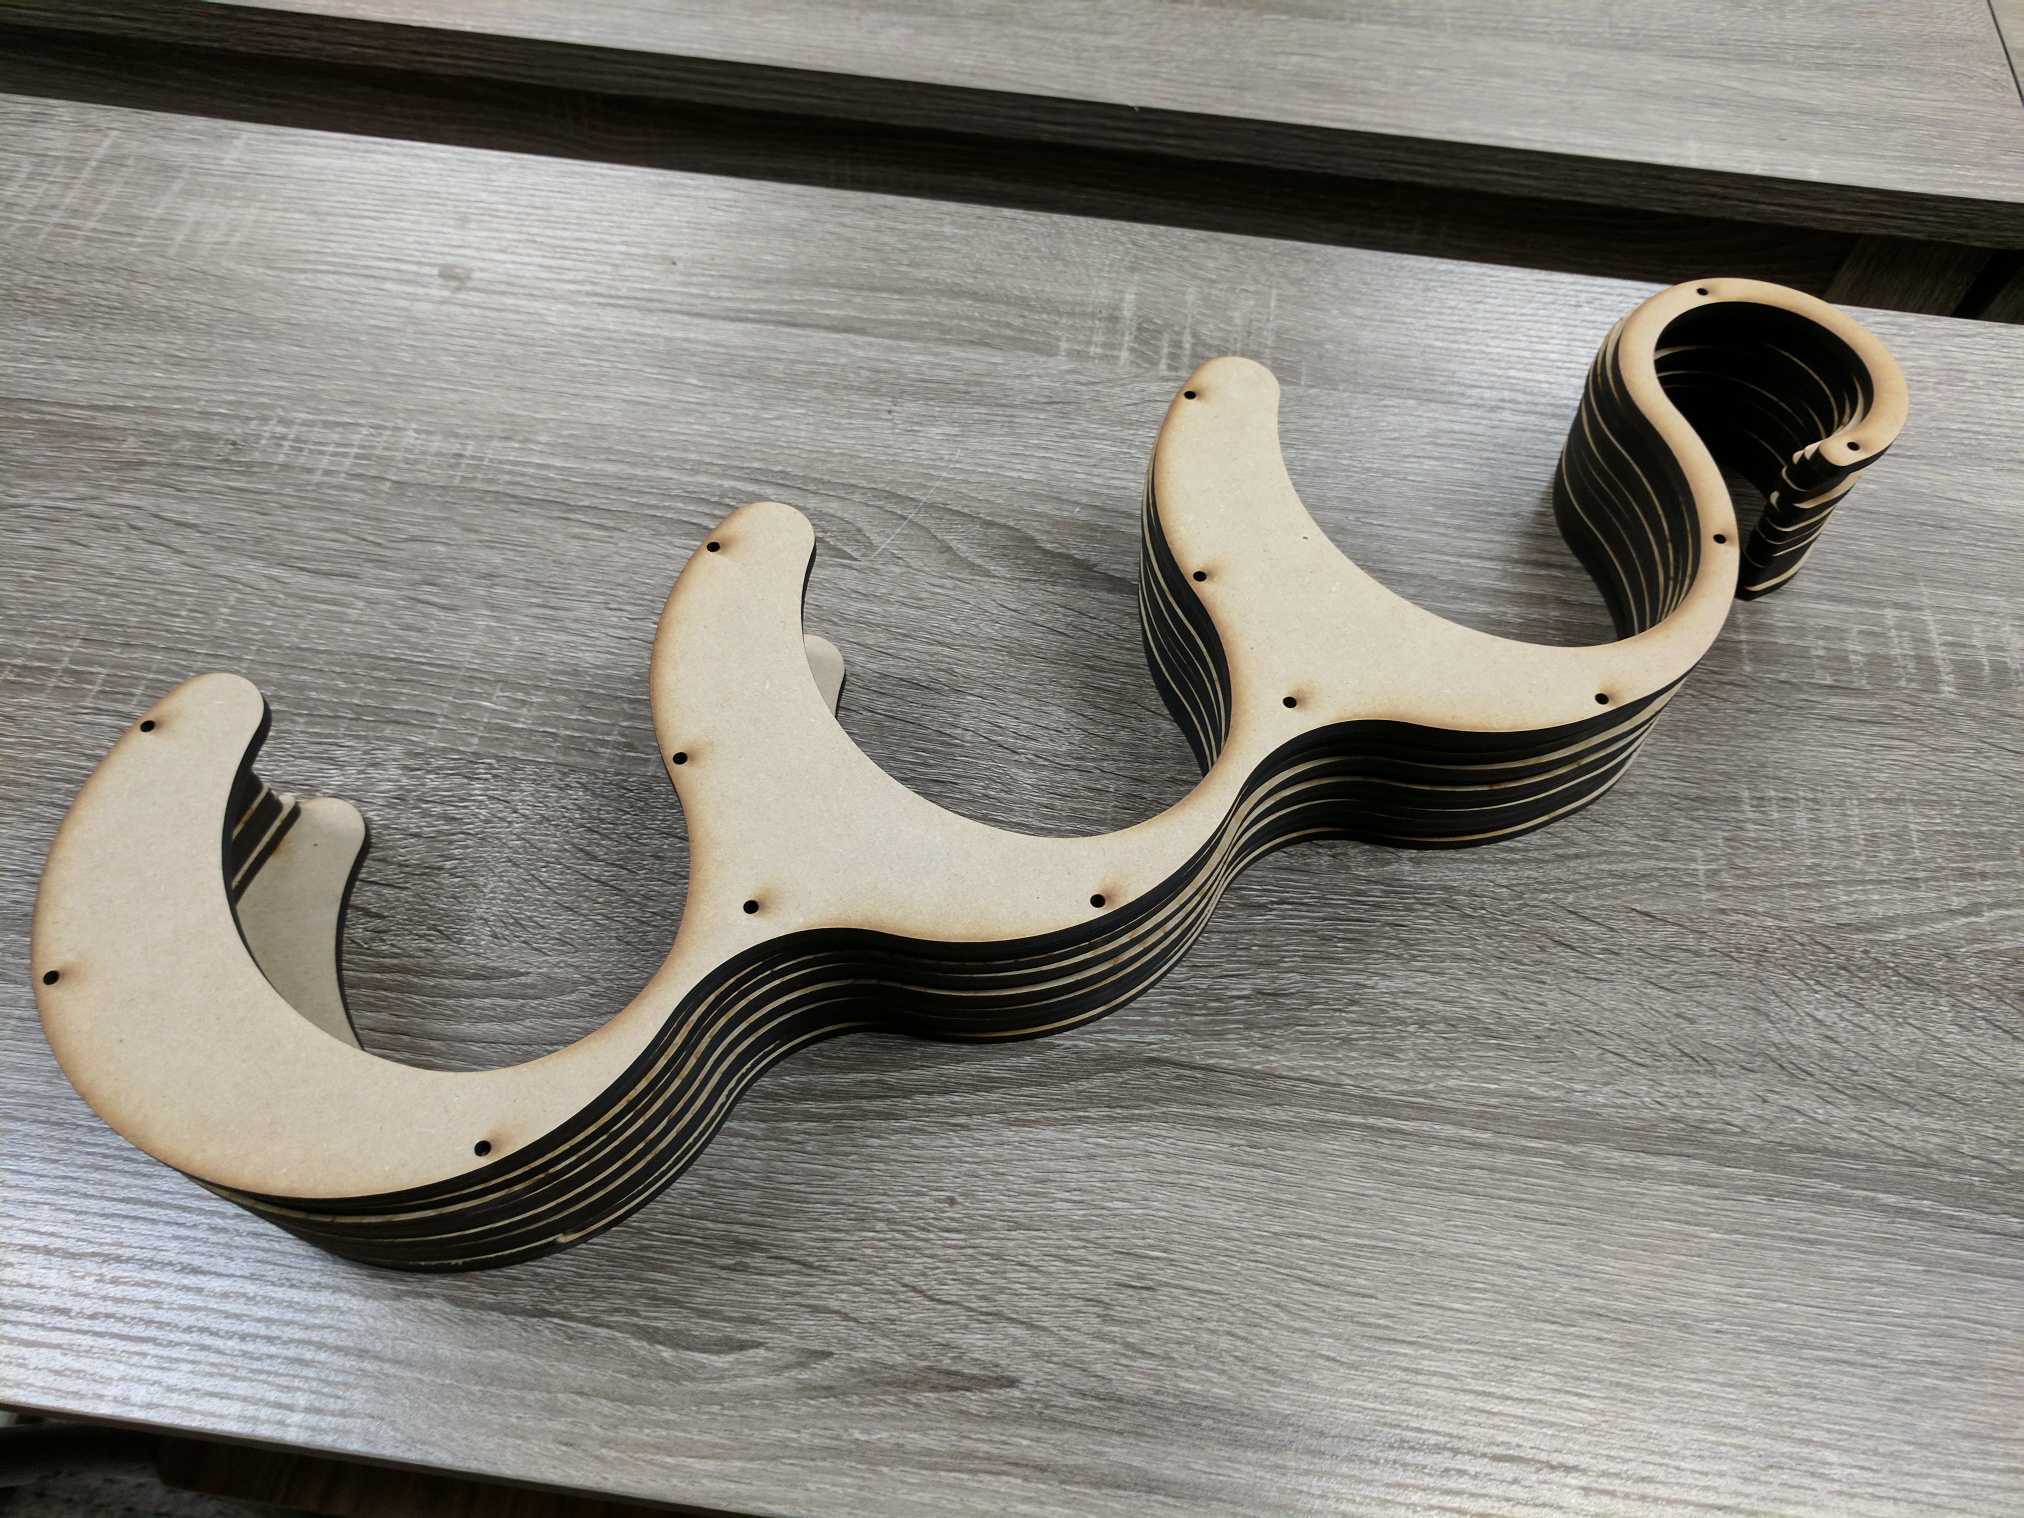
I have a lot of unused 1/4” MDF from previous projects, so I go with wood for this project. Using the laser cutter at Newmakeit, I cut ten middle panels and two end panels.
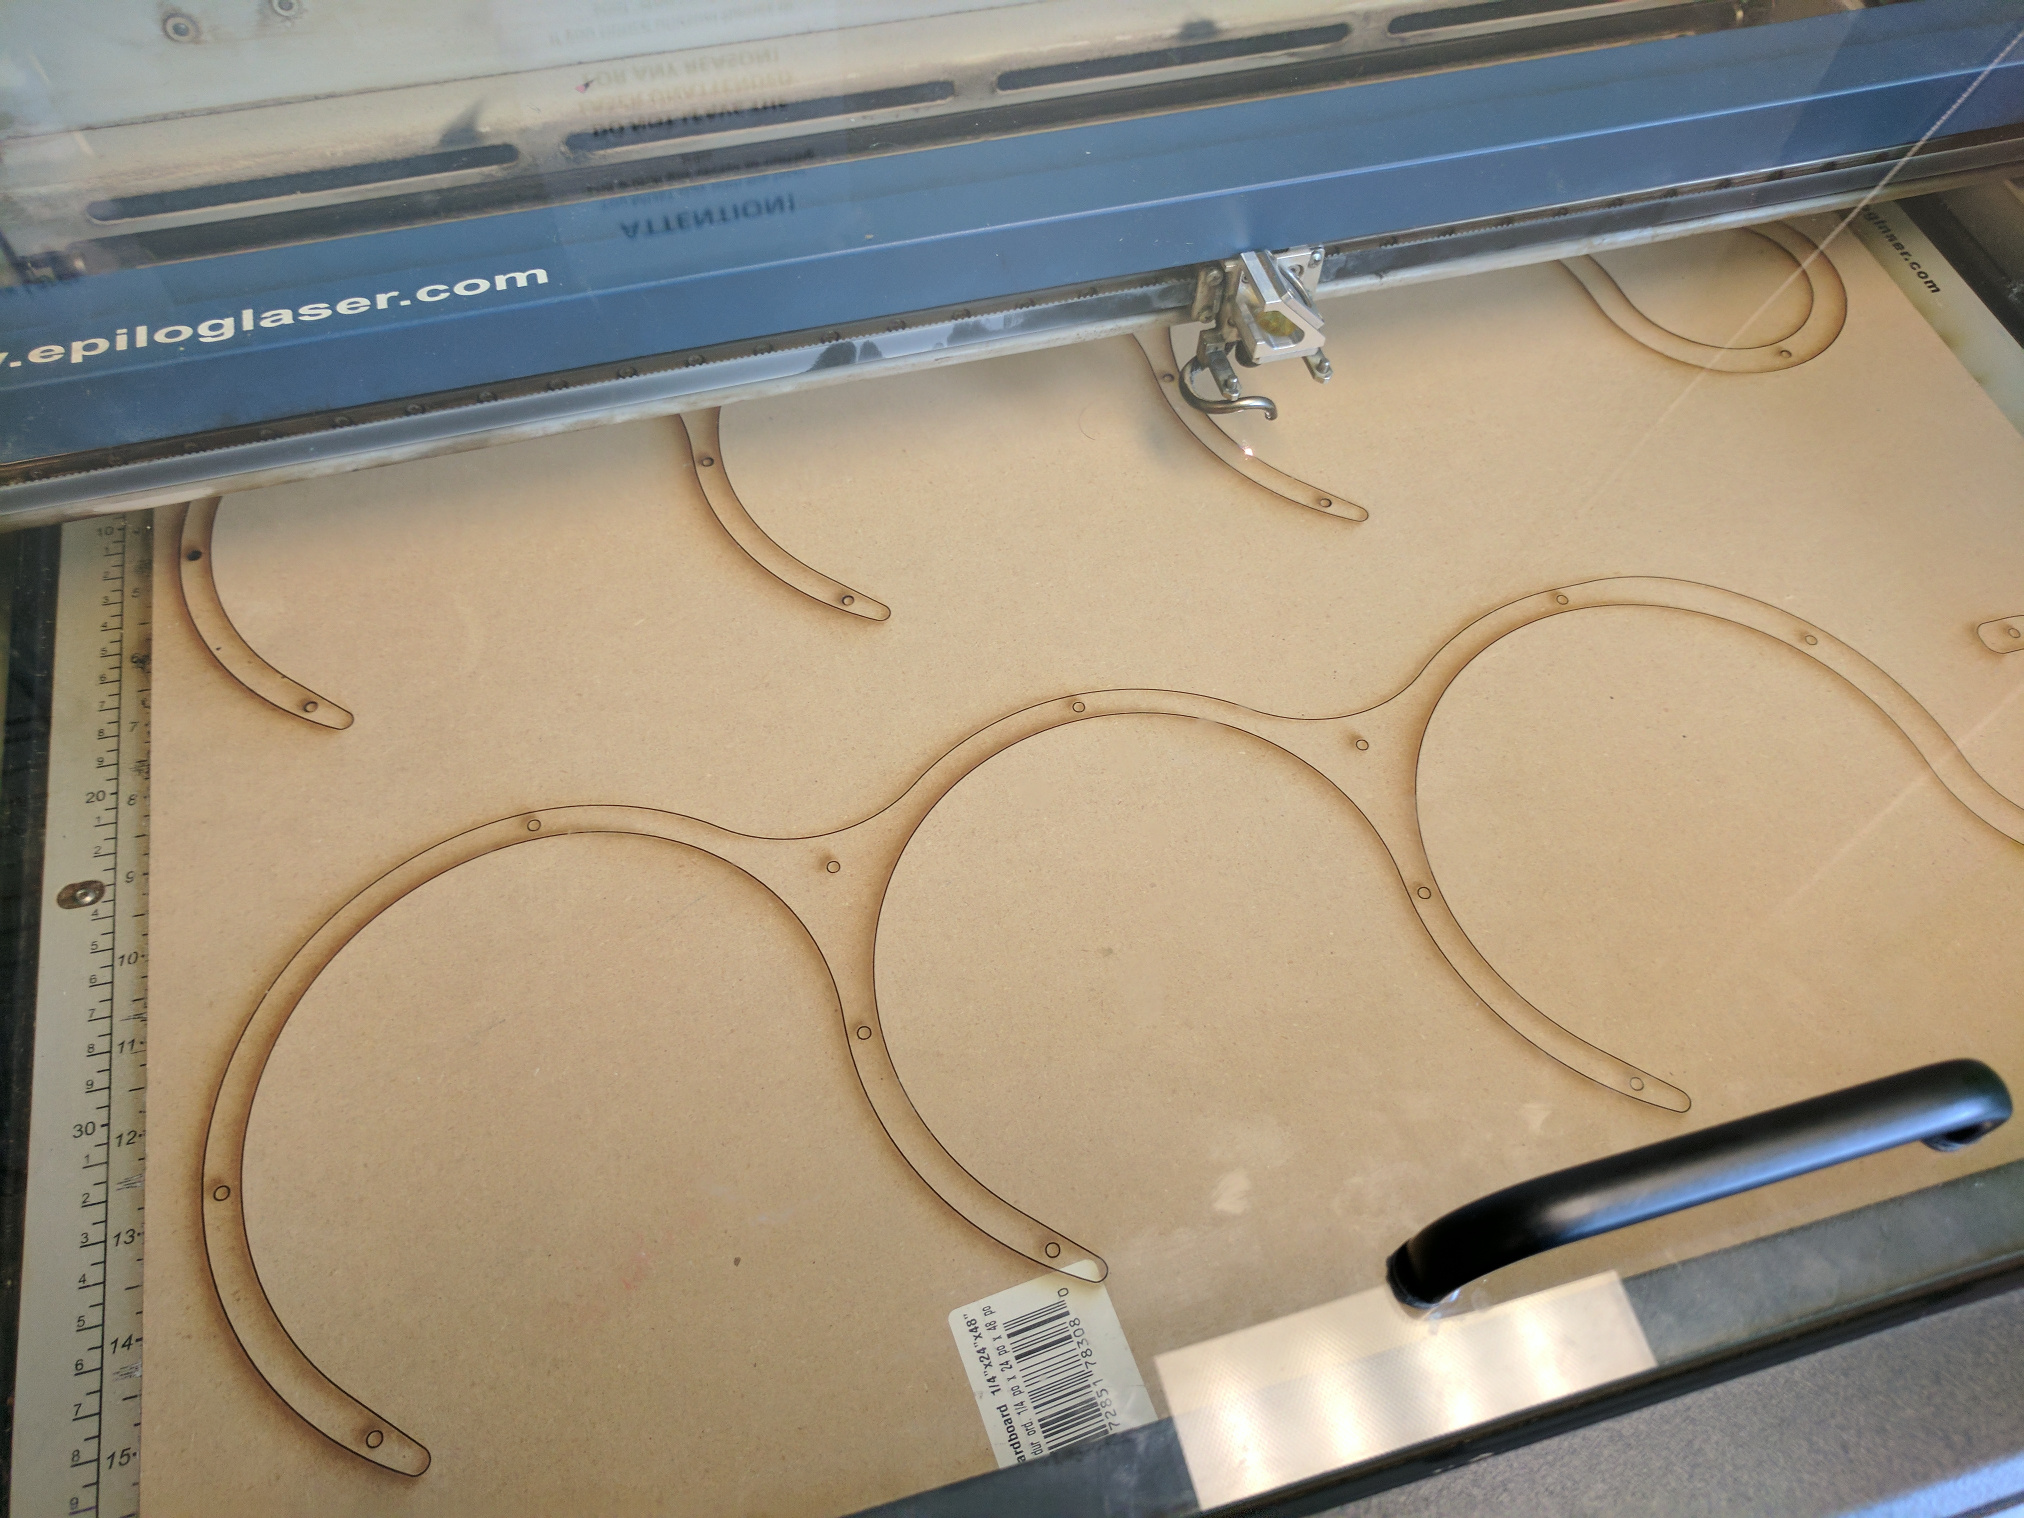
WIth the panels fresh off the laser cutter, I test fit the whole assembly using 1/8”-diameter dowels from Home Depot. I am now ready to glue everything together.
Assembly
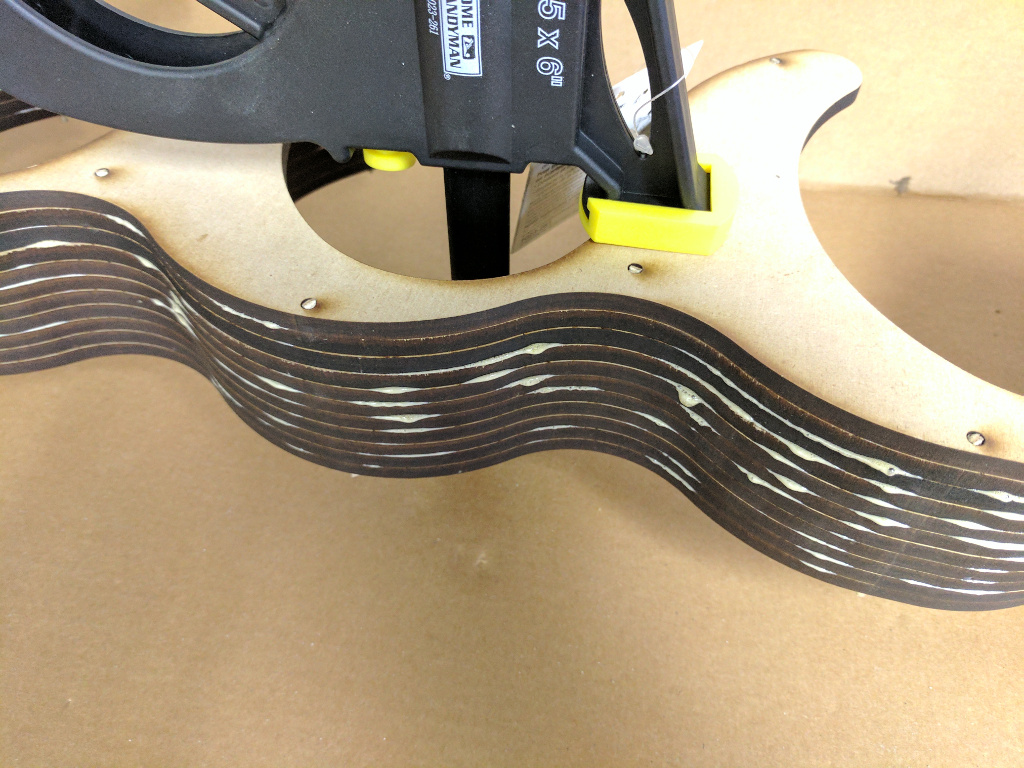
I glue the pieces together, two at a time, with Gorilla glue and clamps, as well as the dowels. I let the glue cure for at least a day before adding the next piece.
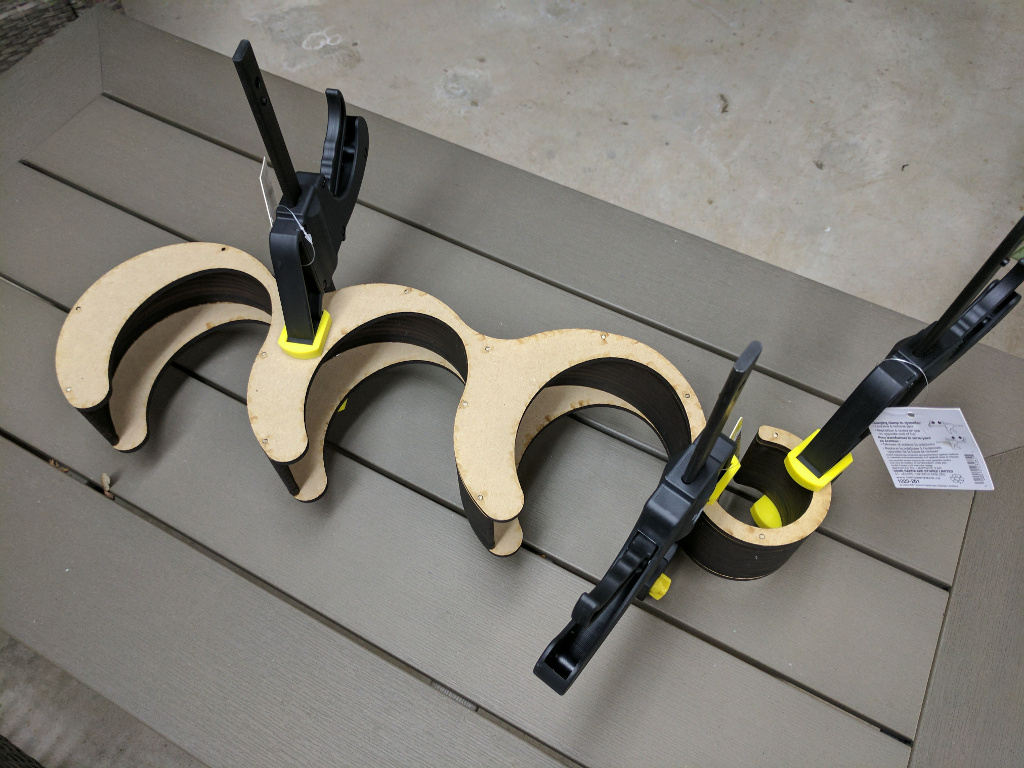
I was not very careful with the excess glue.
Finishing: Sanding and Painting
WIth all the pieces glued together, I start the following process:
- Dremel off excess glue
- 100 grit sanding
- 200 grit sanding
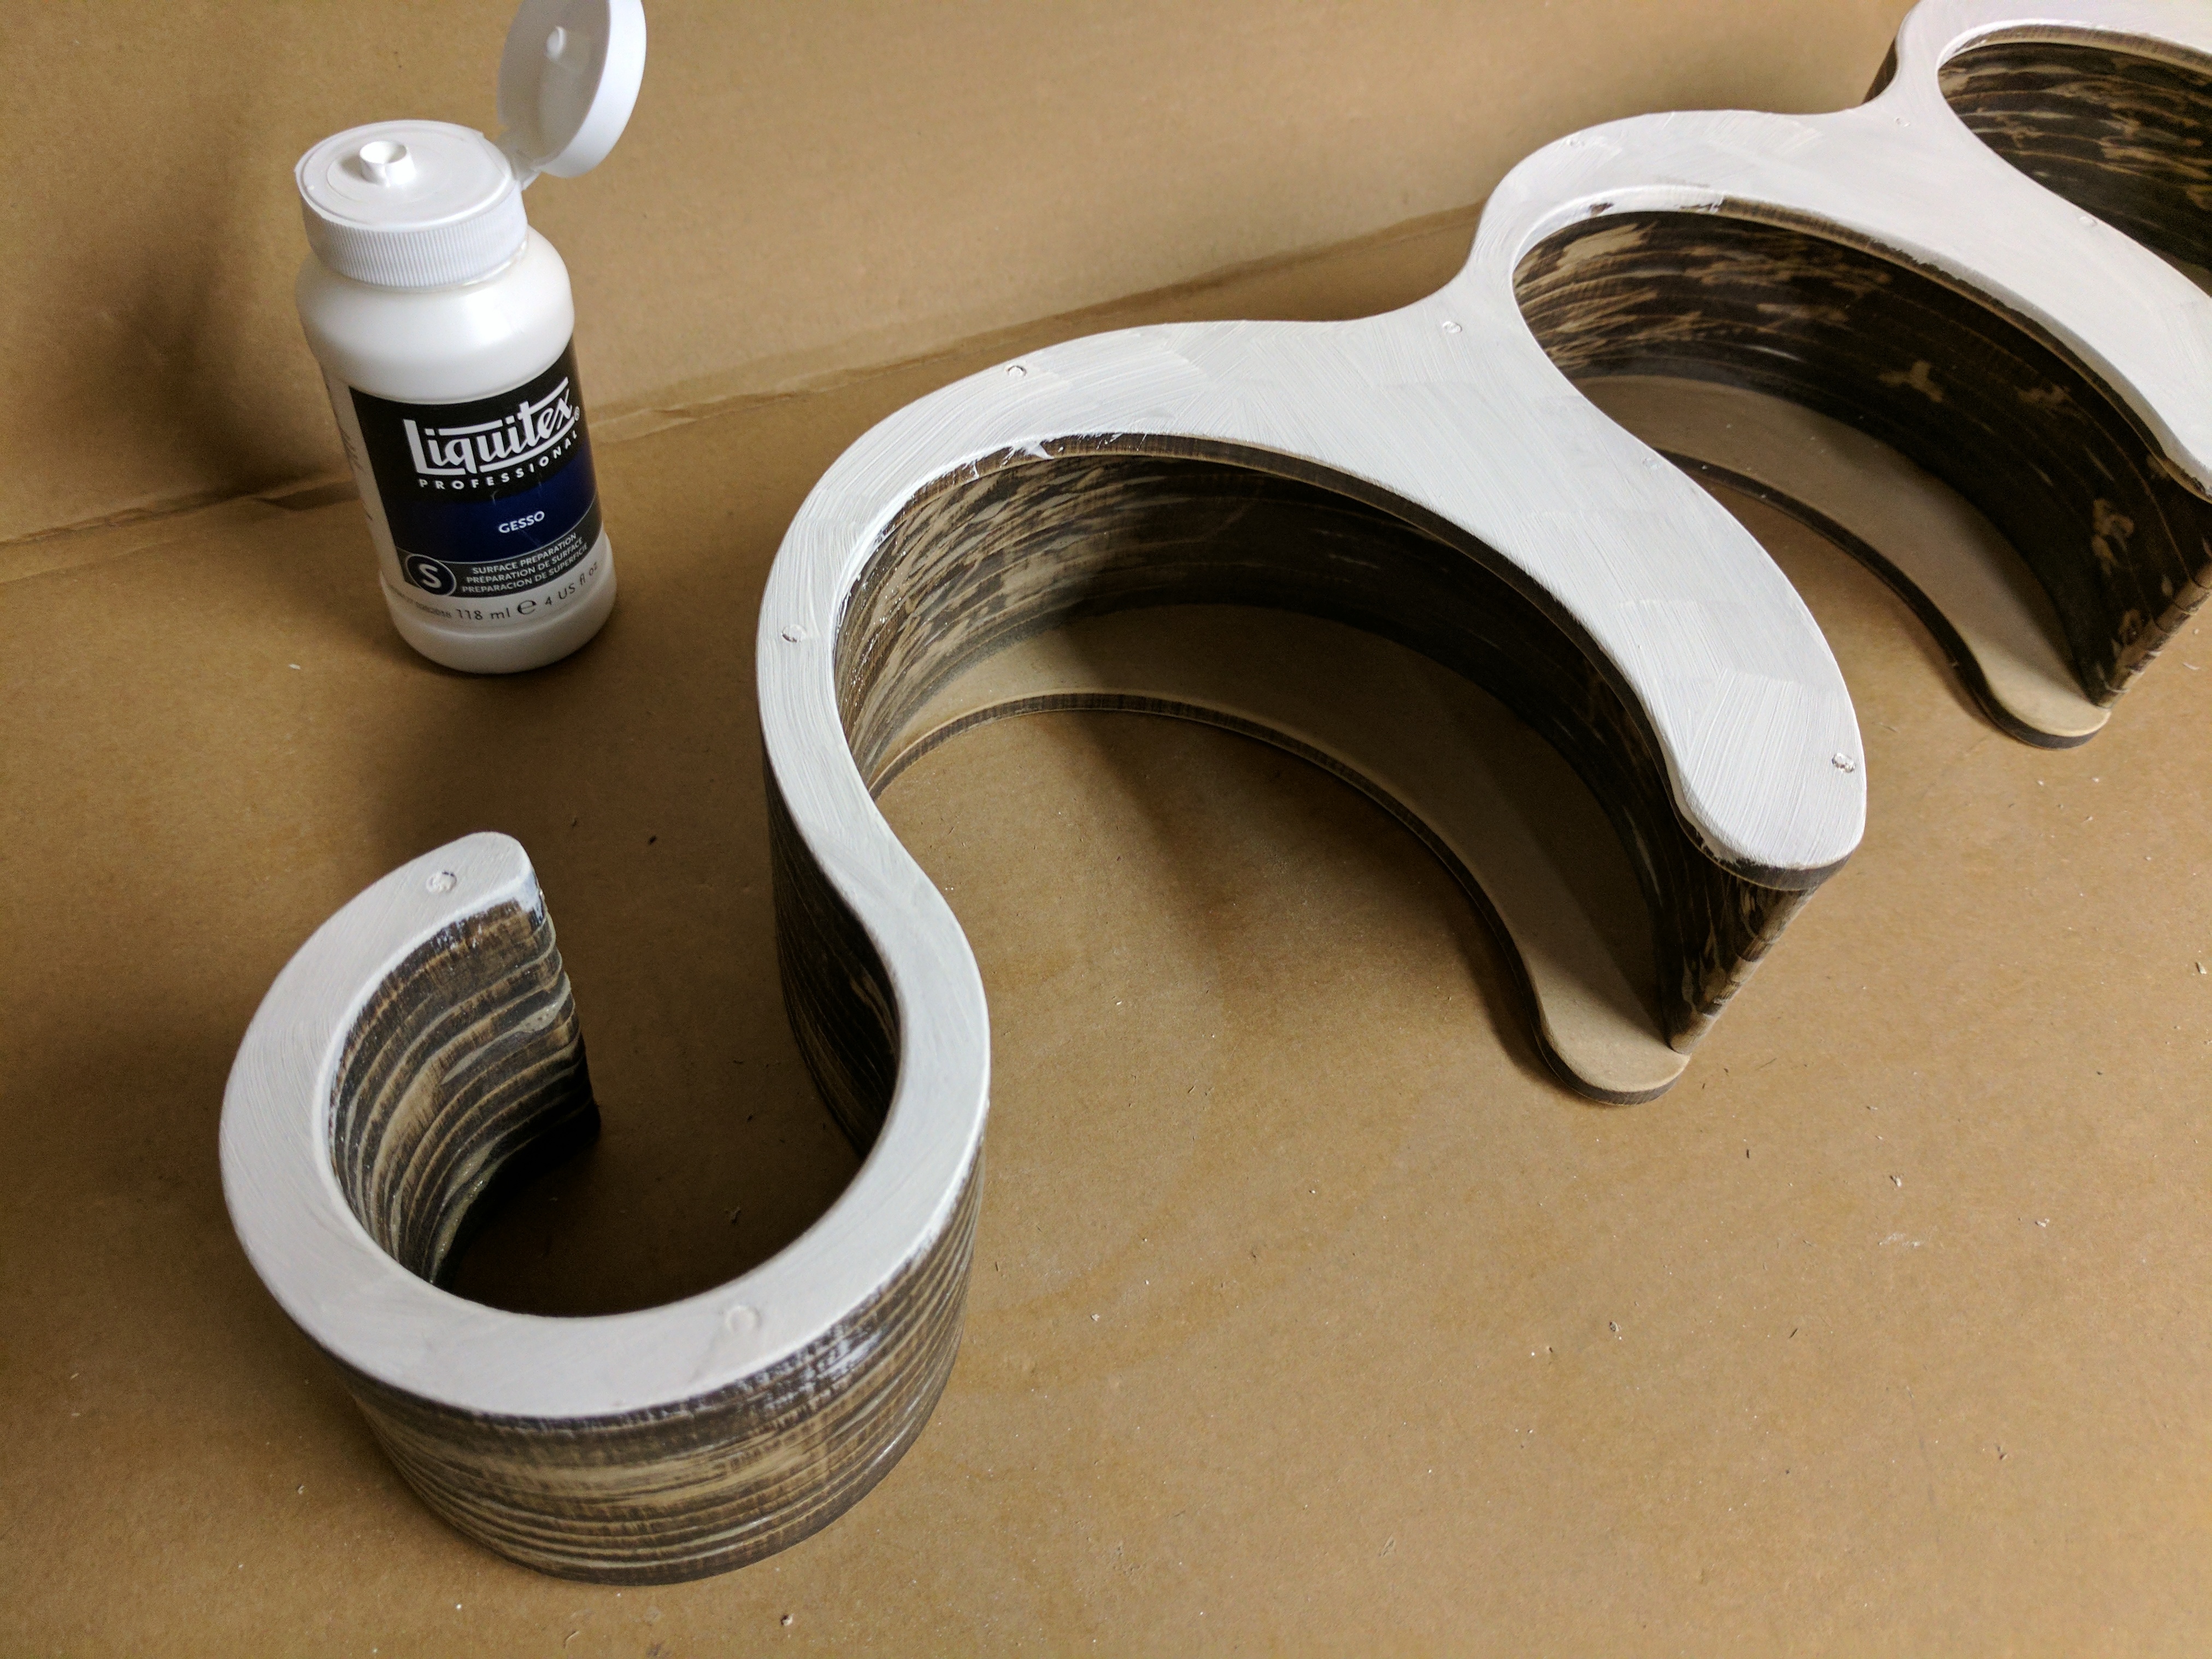
- Gesso priming (round 1)
- 200 grit sanding
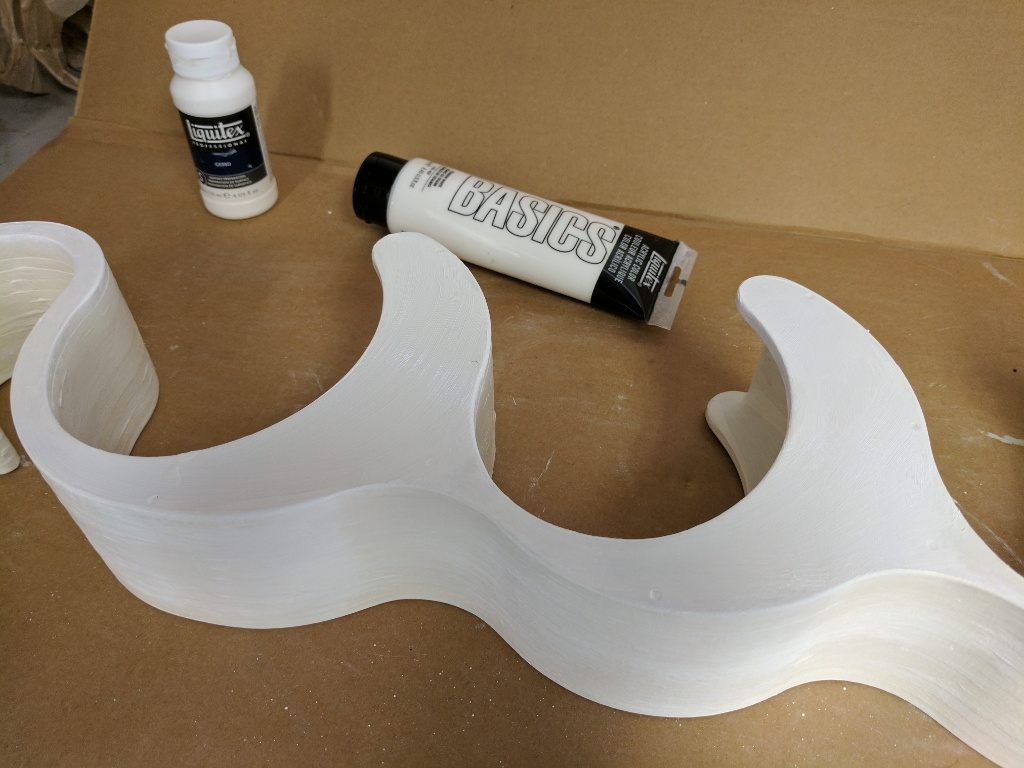
- Gesso priming (round 2)
- White acrylic paint
- Matte varnish
This turns out to be the longest part of the project: lots of elbow grease required!
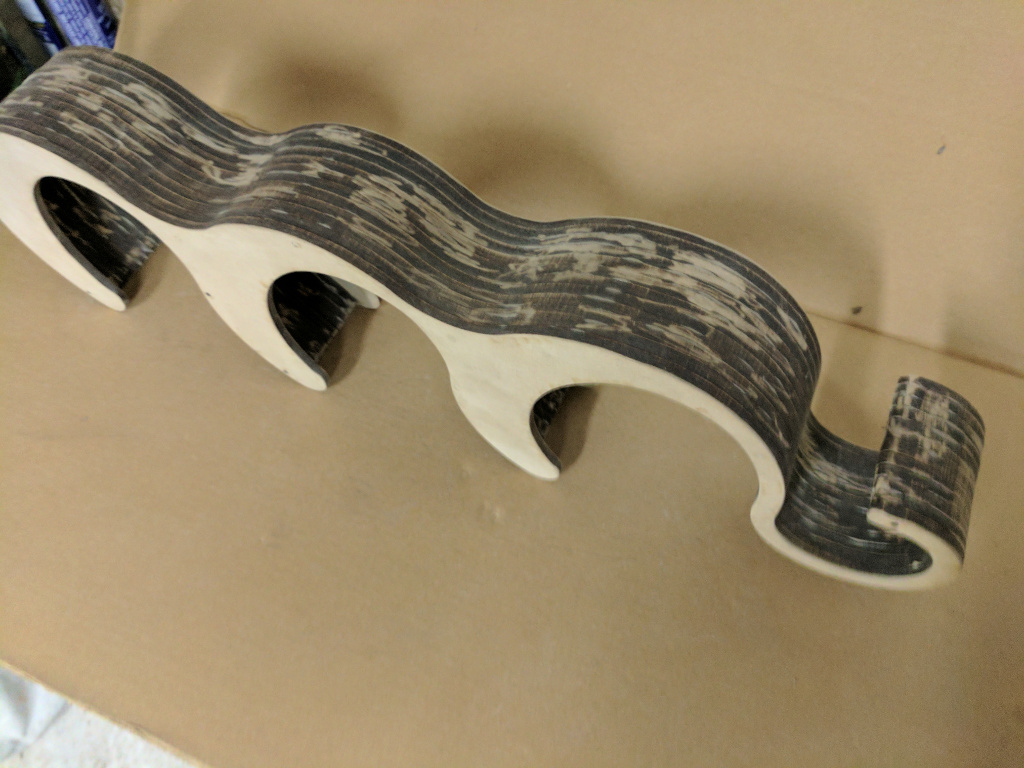
Post-sanding:
Starting to apply gesso:
Painted:
Completion
Once the varnish dries off, I hang the holder on the closet rod and fit my belts in it.
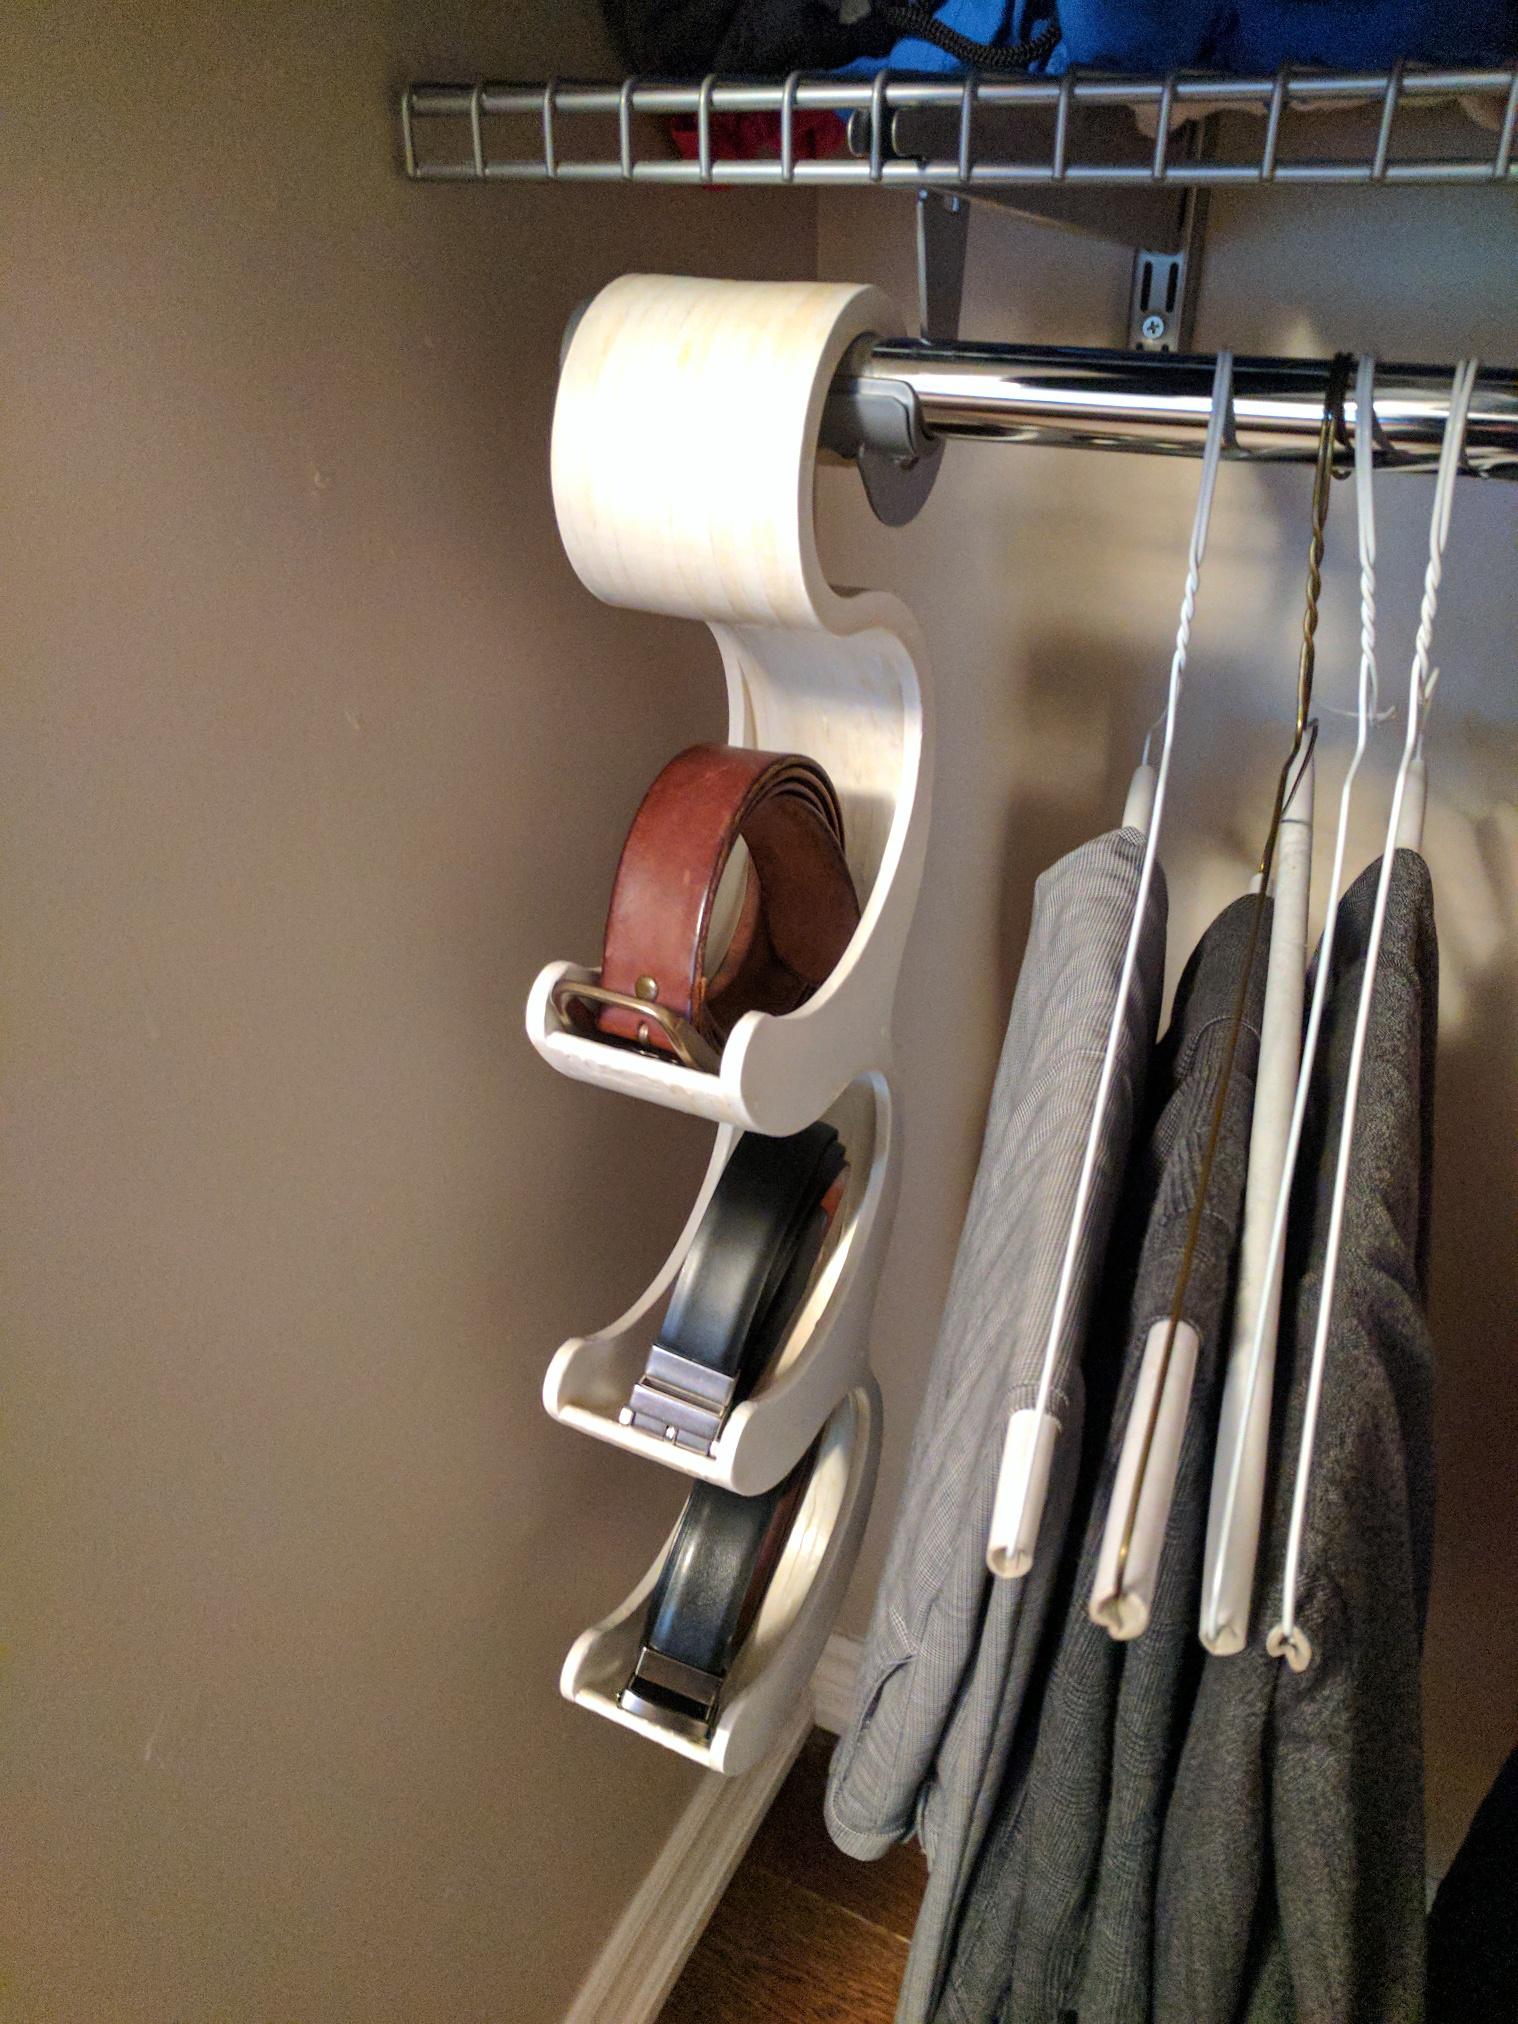
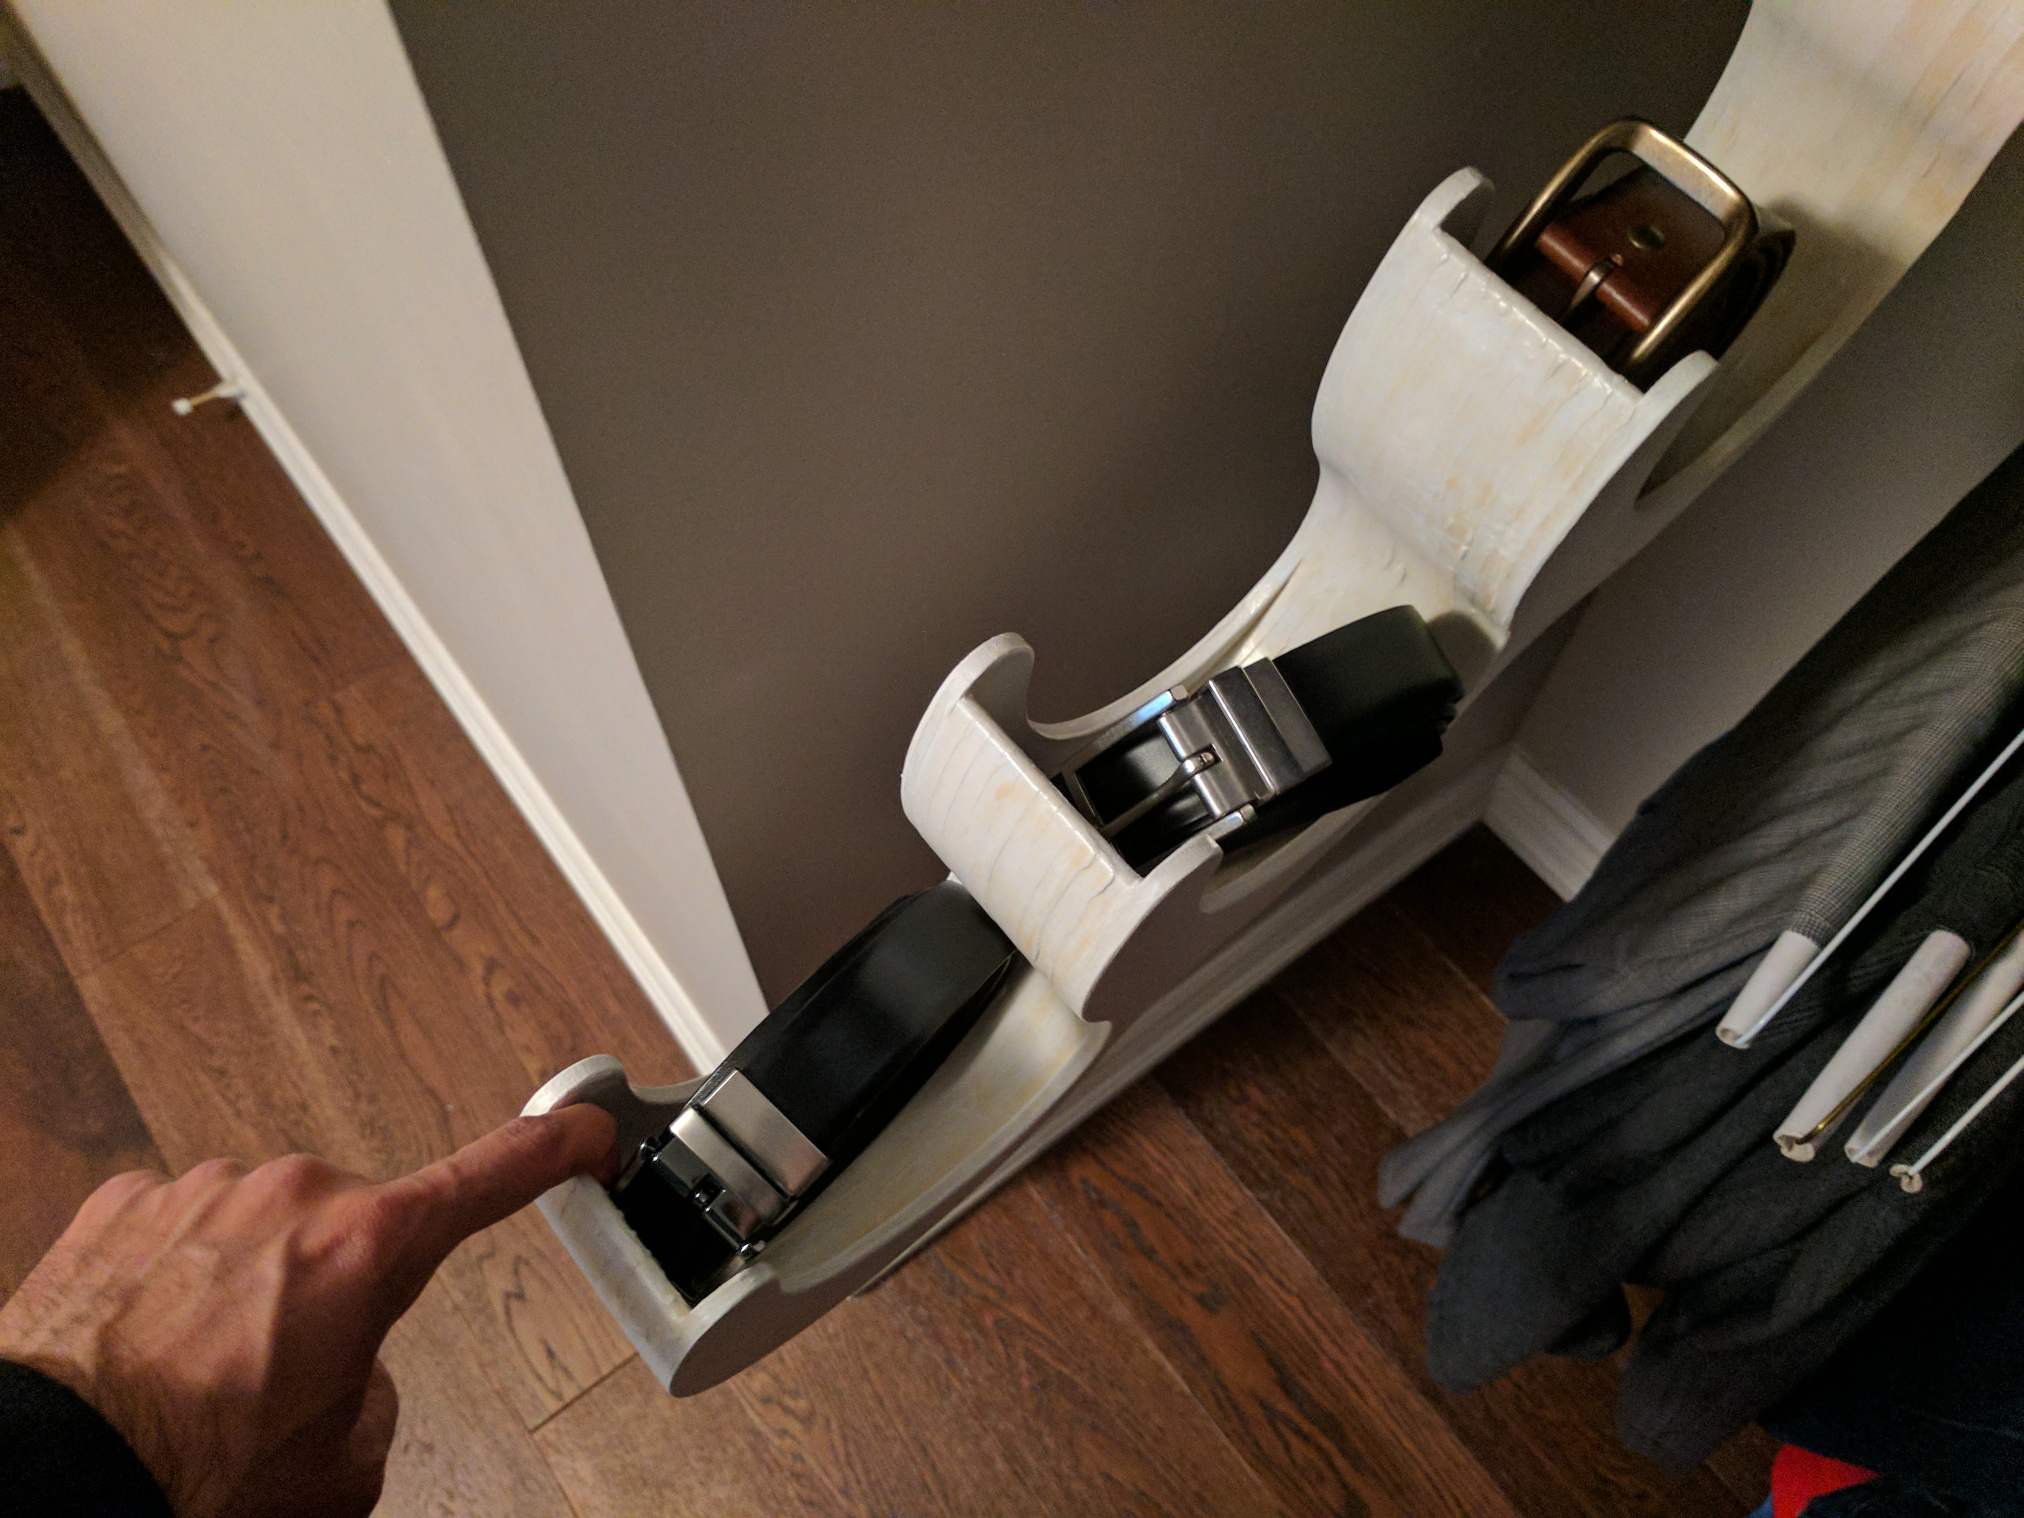
Success!
Lessons learned
The glueing and finishing took a lot longer than I would have liked. Next time around I will make sure the geometry is as simple I can make it. In this case, the main body could have been replaced by a series of rods instead of full panels. This would have greatly decreased the amount of wasted unused MDF.
Questions? Comments? Give me a shout!