3D Print a Baseball Case
How about we build a slick Blue Jays-branded baseball case?
Concepts
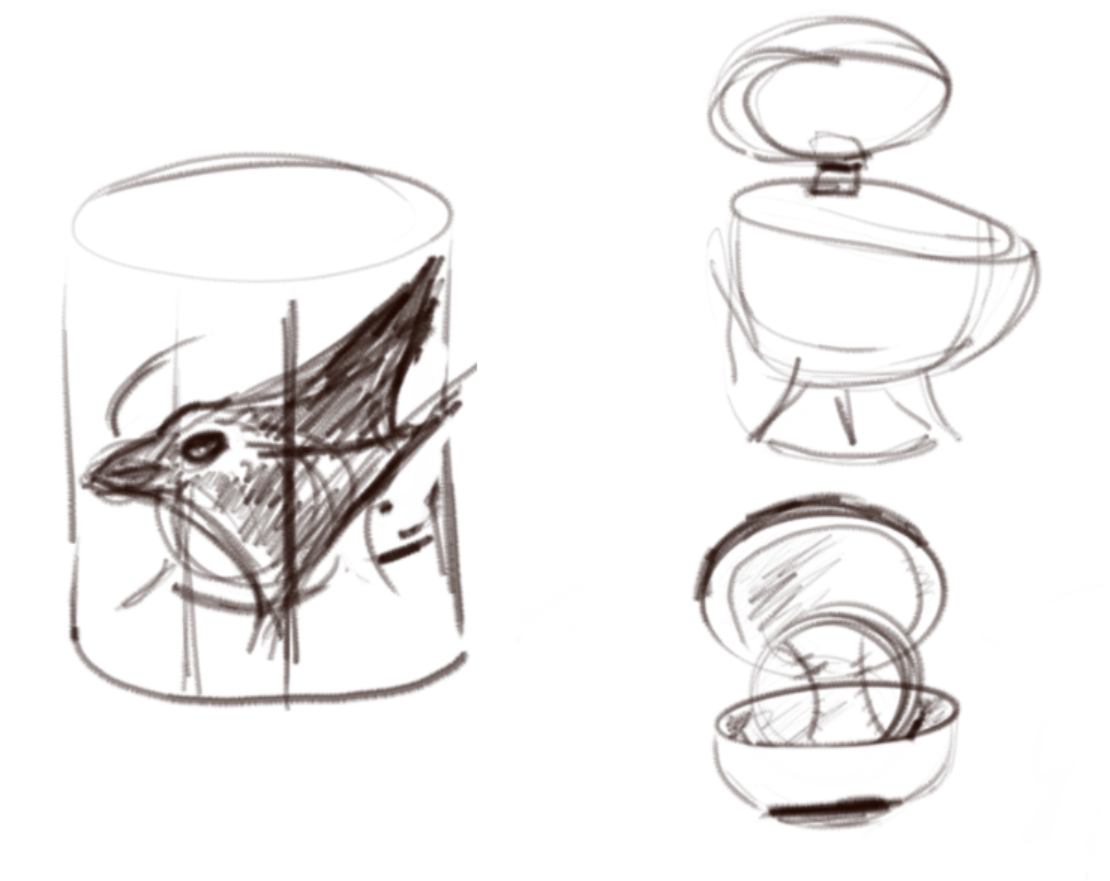
At first I thought of scultping a blue jay head that would seat a baseball within it:

But honestly, that felt like way too much work. Instead, I figured a semi-spherical shaped case would suffice.
Artwork Preparation: Inkscape
I bring a Blue Jays logo into Inkscape, and tweak the settings so that an outline trace separates the maple leaf from the rest of the shape. I do this mostly so that painting is not too challenging later on.
![]()
![]()

After a quick check of the generated paths, I export the file as a DXF so I can use it in a CAD environment.
Modelling the case: Fusion 360
Google tells me that a standard baseball has a diameter of 76mm, so I give myself a roomy 100mm-diameter spherical envelope.
I import the DXF and extrude the relevant shapes past the top face of the sphere.
![]()
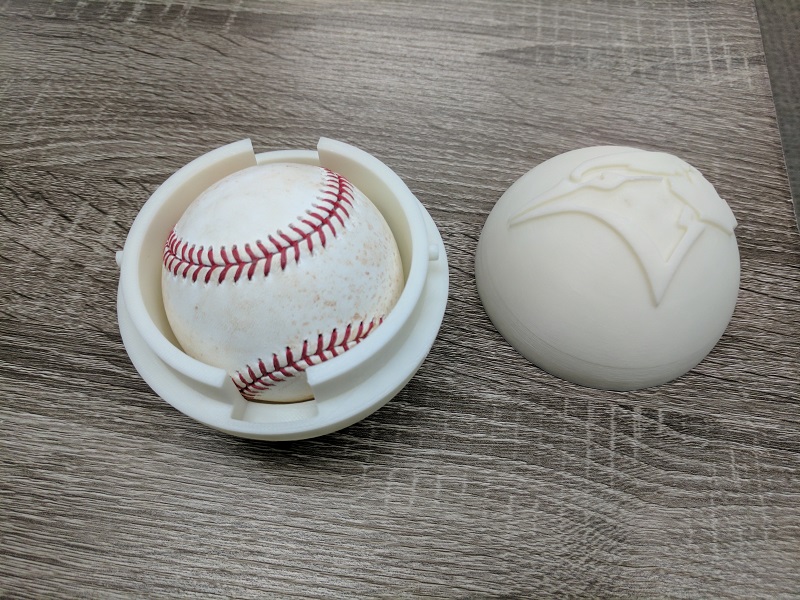
Add a flat base, and a 78mm-diameter spherical cavity.
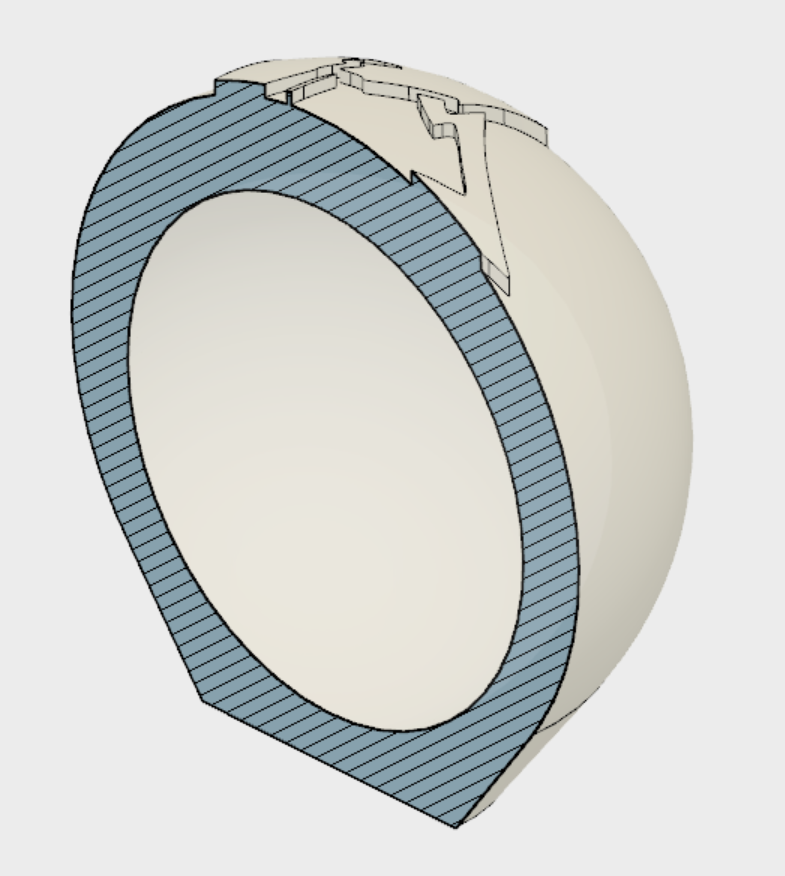
Cut the case in half, and at this point I notice I need some sort of mechanism to keep the top on. I had told myself “hinge” earlier on, but I will have to either add an off-the-shelf hinge or print my own- and again, I get lazy.
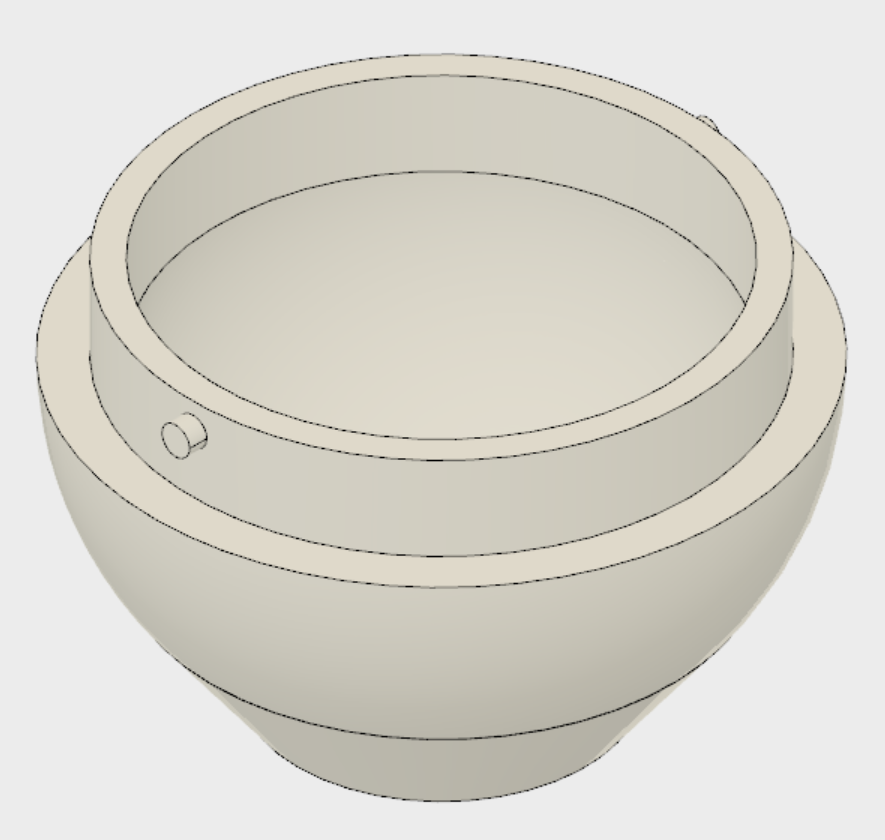
I opt instead for a push-and-turn scheme. Using two diametrically opposed pins on the bottom piece and two mirrored paths on the top one I can provide a secure enough way to join the two:
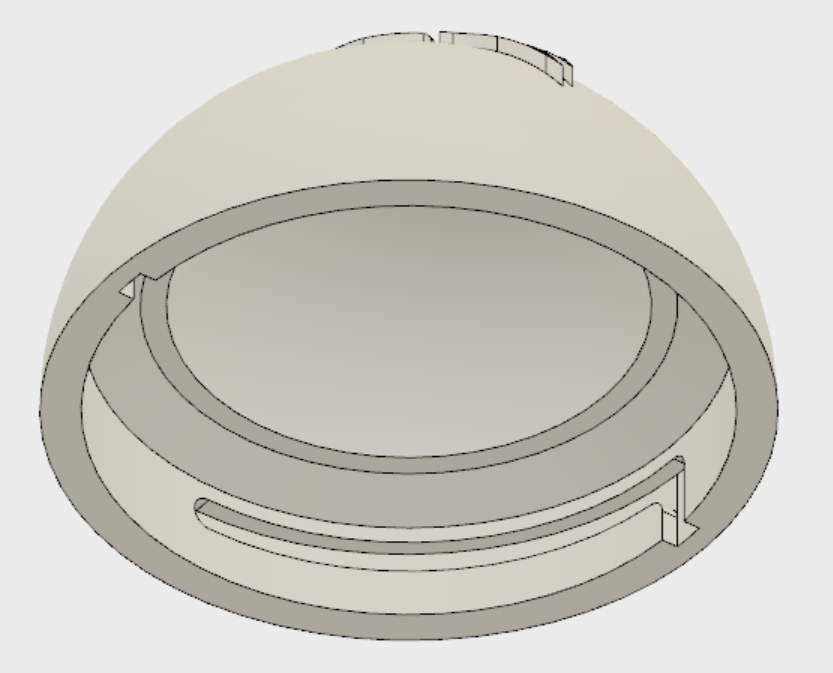
I add two channels to the bottom piece for finger clearance and save a render for posterity before heading out to Newmakeit:
Printing: Cubicon
It has been a while since my last visit to Newmakeit, and they have added a Cubicon 3D printer recently. Looking at the sample pieces on display, it looks like it can produce some fine quality prints. I throw the base at it first, and overjoyed at the results, print the top part next.
Alas, I have overlooked a flat portion within the model and added no supports for it. I end up with a large spaghetti area inside the piece:
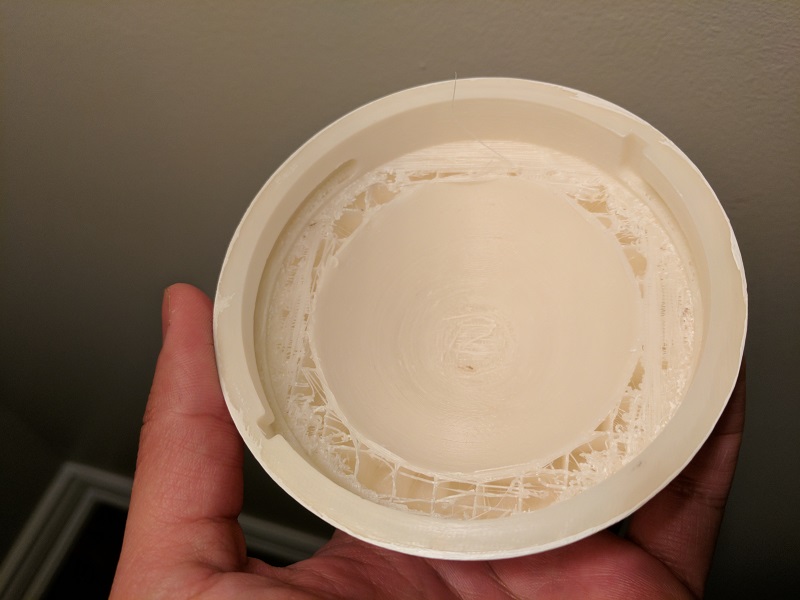
After carving quite a bit of material, I manage to join both halves. I can work with this.
Finishing: Sanding and Painting
I have used glow-in-the-dark filament again, so I decide to finish the top part only (it’s the one with the logo on it anyway). I will follow this checklist:
- 100-, 200-, 400-grit sanding
- Gesso layer + 24hr cure
- 200-, 400-grit sanding
- Gesso layer + 24hr cure
- 200-, 400-grit sanding
- Paint
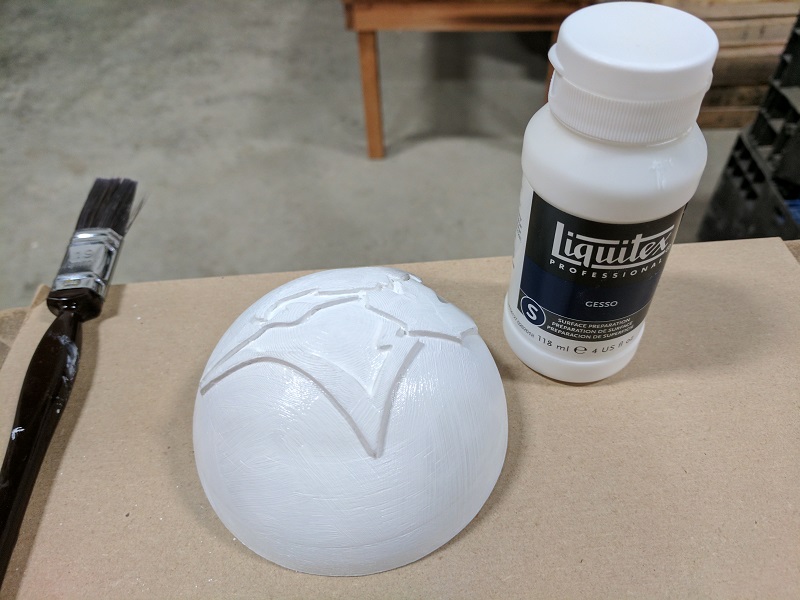
I pick up some Liquitex gesso and acrylic paints at my local art supply, get to work.
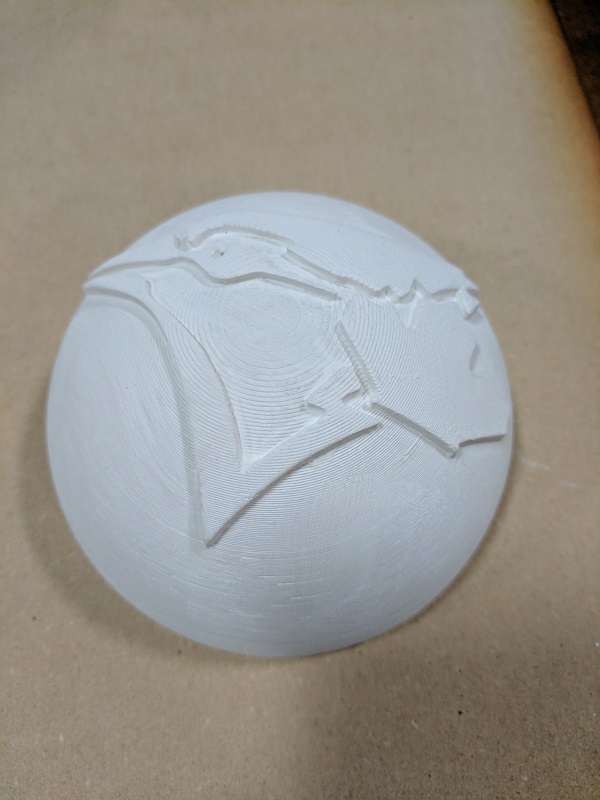
One day after applying the first layer of gesso:
Shortly after applying second layer of gesso:
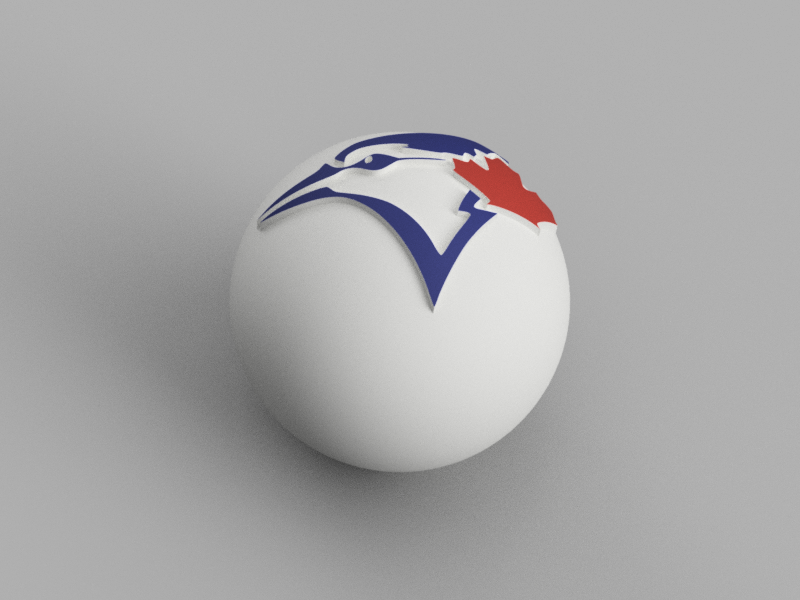
The final product:
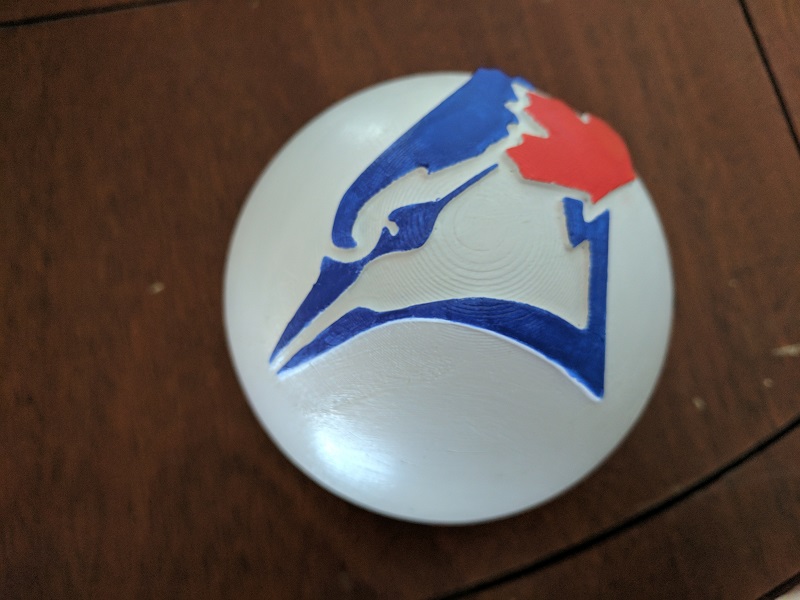
LET’S GO BLUE JAYS!
Lessons learned
- I could have gone harder on the 100-grit sanding. The layer lines are pretty visible at the top of the case.
- Don’t forget to double check your geometry before sending files to the 3D printer. The printer might be great, but it can’t do miracles.
Questions? Comments? Give me a shout!